Mounting discs in the working chamber
Watch the video
![]()
YouTube video – When viewing this video, personal data is sent to YouTube, LLC, USA. Privacy statement
The workflow for restoration is as follows:
→
→
→
-
CAUTION!Wear gloves.
-
Open the working chamber door.
-
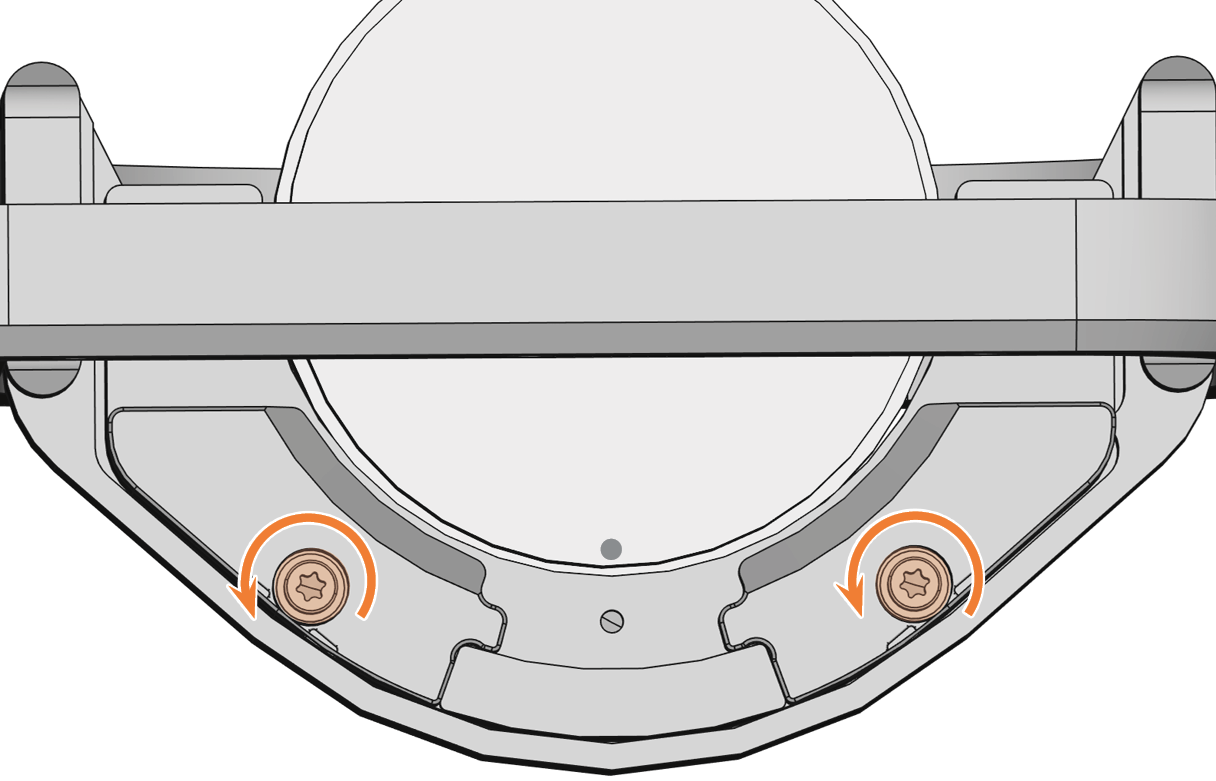
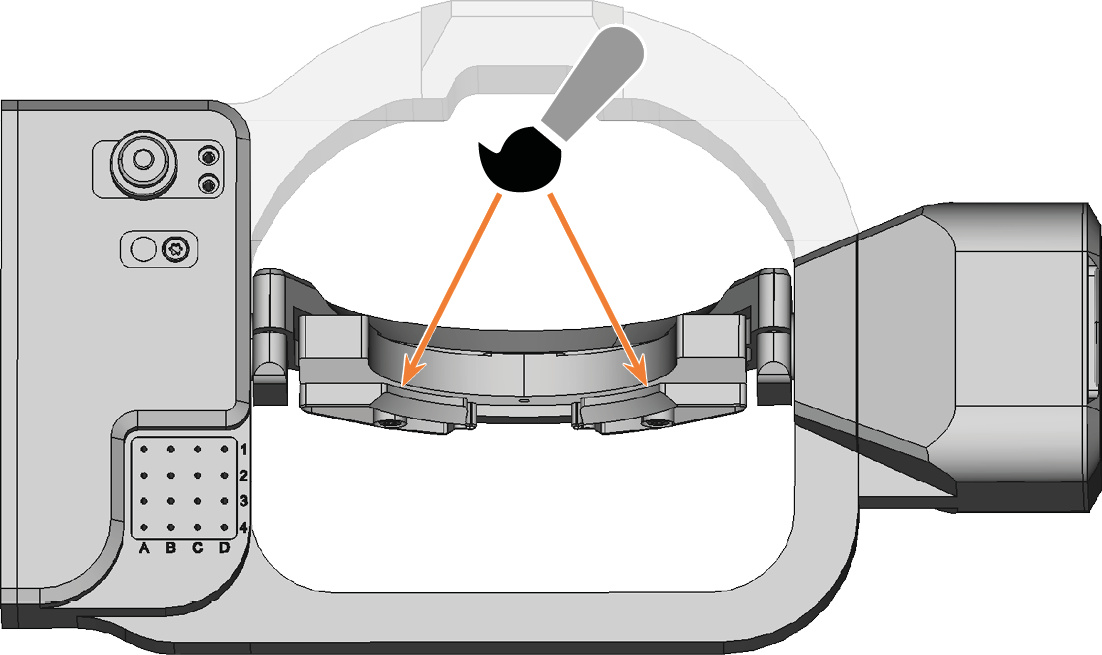
Loosen the 2 fixing screws on the blank holder without unscrewing them.
-
Remove the blank from the blank holder if present.
-
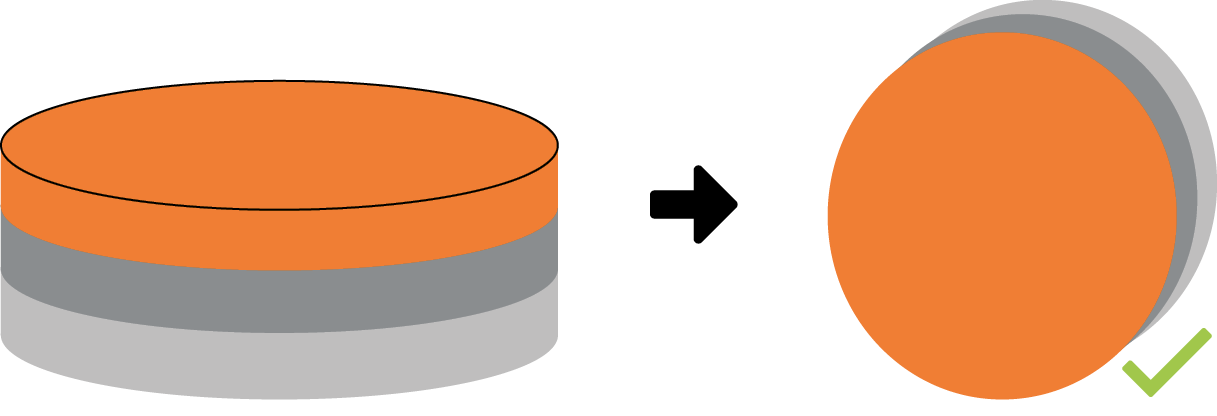
Use the disc as follows:
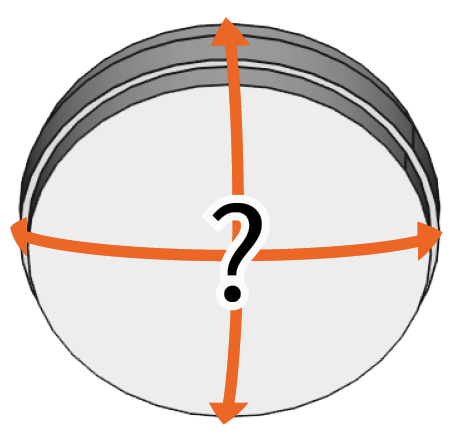
- If the disc is multilayered, align the blank so that the top layer of color points to you.

Multilayer blank
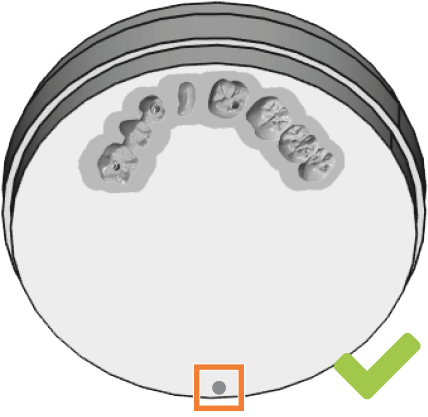
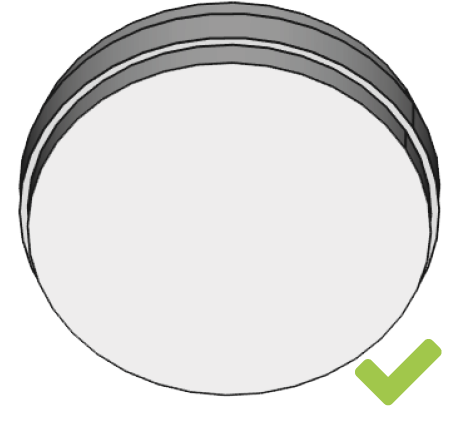
- If the disc was already machined, ensure that:
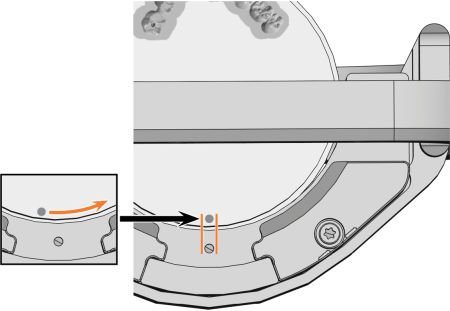
- If the disc has been marked for safer remounting via dentalcnc, make sure that the marking is in the position shown below.
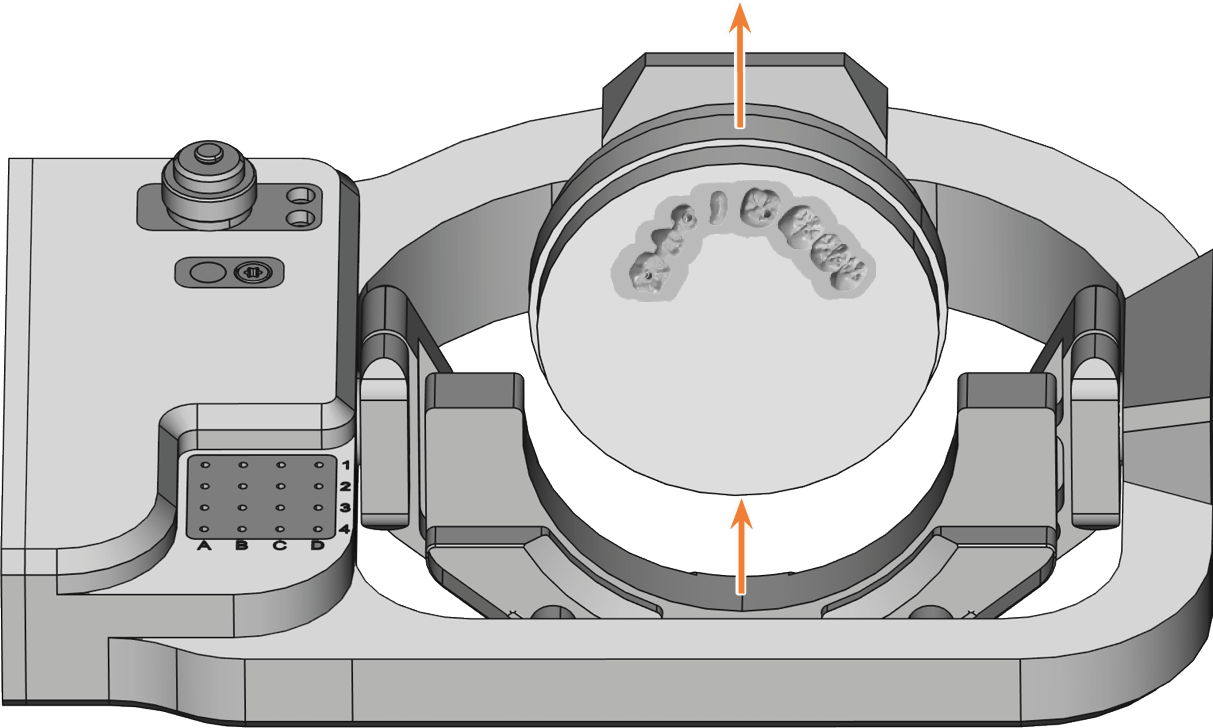
-
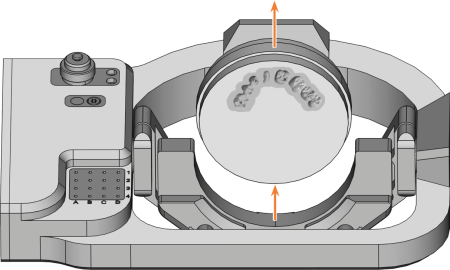
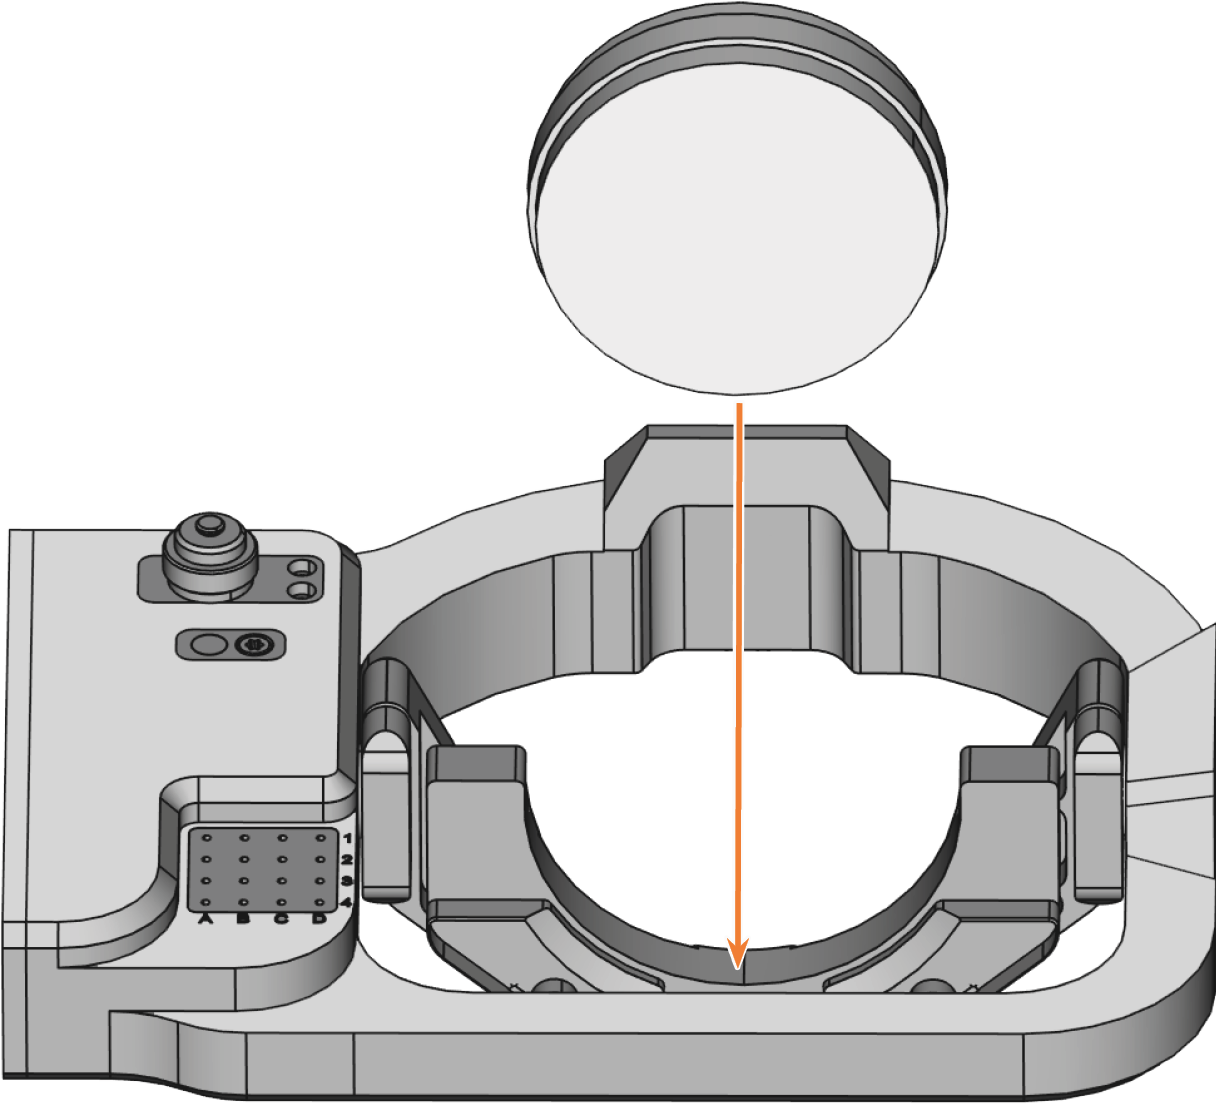
Insert the disc from above into the holder.
-
Carefully rotate blanks that have already been machined so that the marking on the blank is exactly above the marking on the blank holder.
- Remove machining residue from the back of the clamping elements with a brush. Do not use compressed air!
-
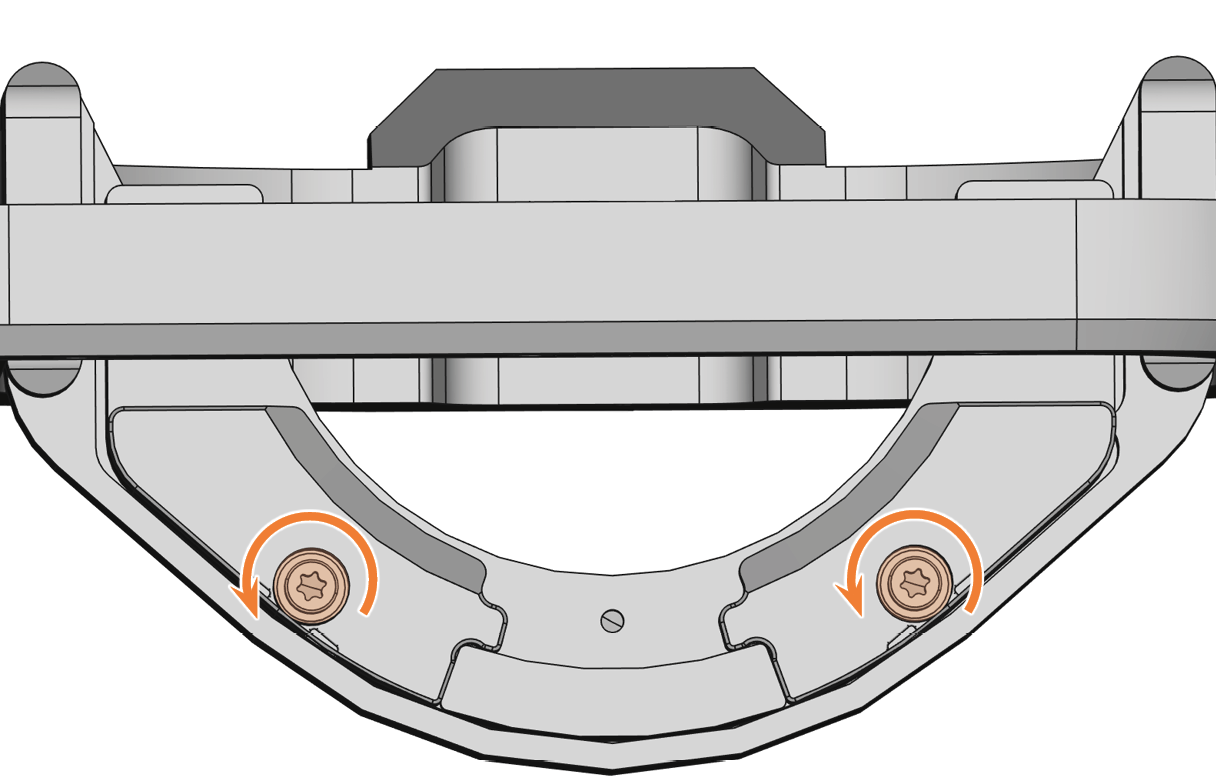
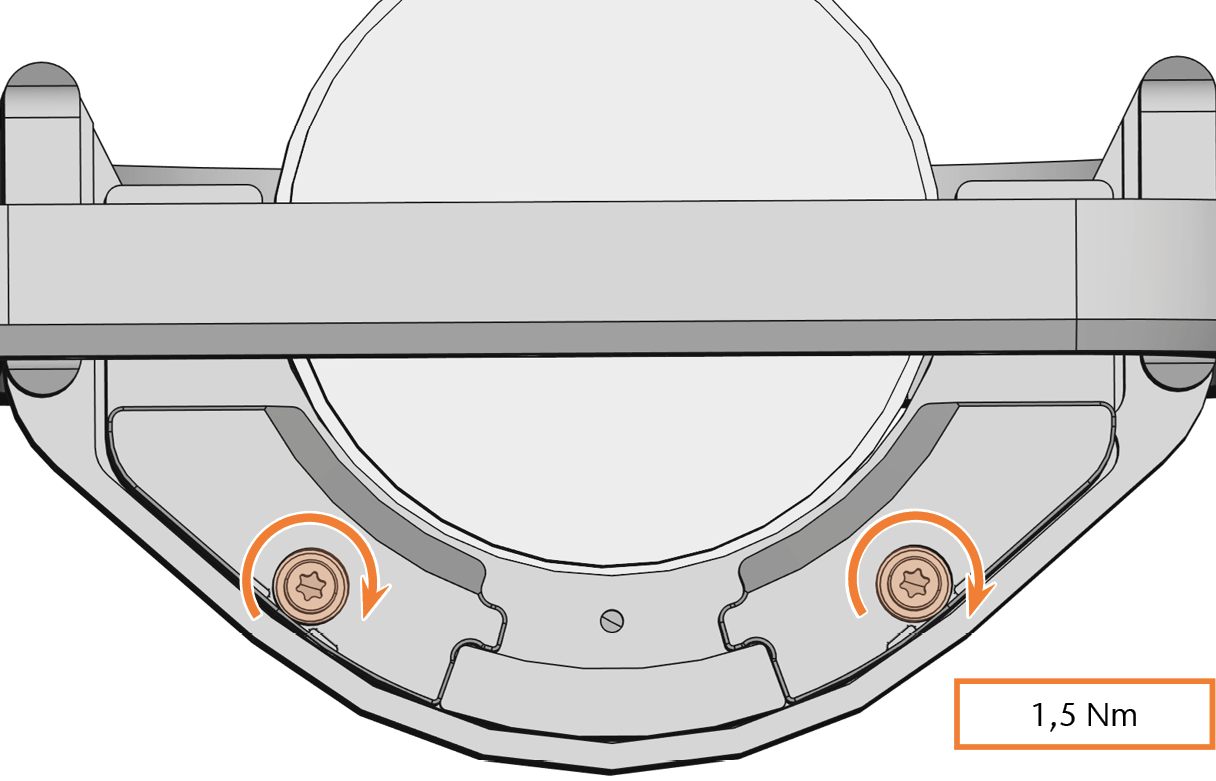
Tighten the fixing screws (marked orange) with the supplied torque screwdriver (1.5 Nm) as follows:
-
Screw in the left screw without triggering the torque limitation.
-
Screw in the right screw without triggering the torque limitation.
-
Tighten the left screw.
-
Tighten the right screw.
-
Marking for safe remounting marked orange
Unmachined disc
Machined disc
Marking for safe remounting marked orange
Multilayer disc
NOTICE! Blank damage due to machining residue and incorrect fixing in place
| Torque |
|---|
|
1.5 Nm For a less stable material such as zirconia, you can use a lower torque. |
Removing discs
-
CAUTION!Wear gloves.
-
Open the working chamber door.
-
Loosen the 2 fixing screws without removing them.
-
Remove the disc from the blank holder.