Putting the machine into operation
Watch the video

YouTube video – When viewing this video, personal data is sent to YouTube, LLC, USA. Privacy statement
The installation steps up to operation are:
Short-circuit hazard when the machine is too cold
If the machine is transported from a cold environment into a warmer environment, a short circuit may occur caused by condensate.
- Before switching on the machine after transportation, ensure the following:
- The ambient air has the allowed temperature.
- The machine has the same temperature as the ambient air. This will take at least 48 hours.
- The machine is completely dry.
Preparing the milling machine
Depending on the status of your milling machine, the following components may already be installed.
-
Open the working chamber door.
-
Clean the working chamber.
-
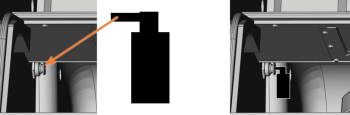
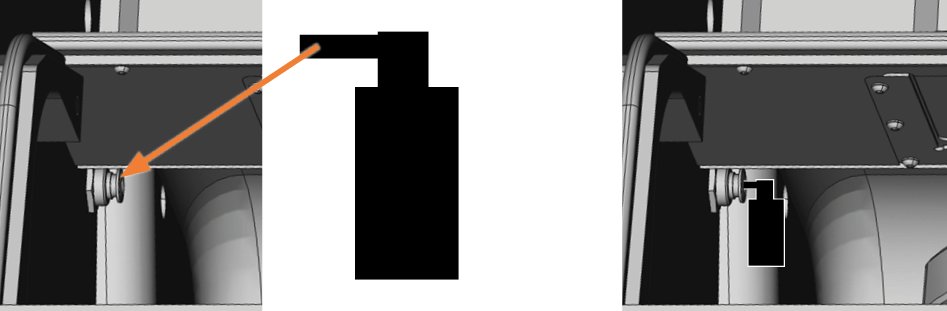
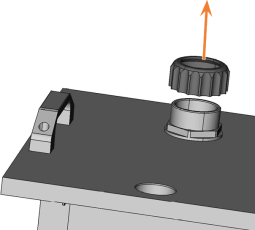
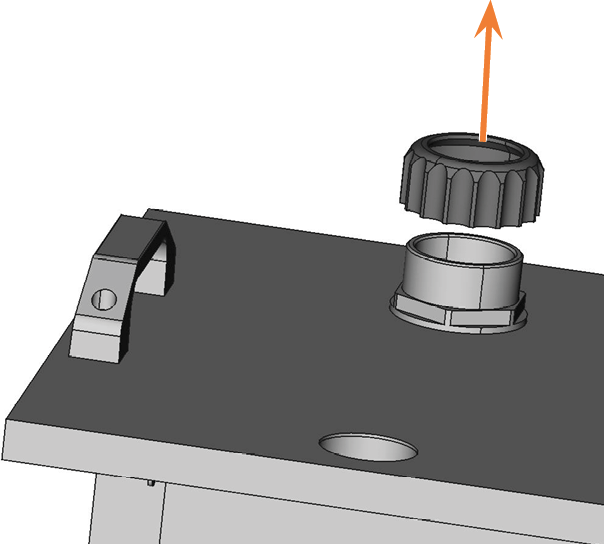
Install the protective cap of the vacuum sensor.
-
Press the ring of the push-in connector and, at the same time, pull off the cover of the vacuum sensor (marked orange).

S2

S1
-
Insert the protective cap of the vacuum sensor into the machine so that the opening of the protective cap points downward.
-
-
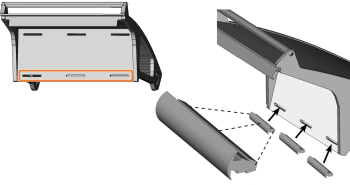
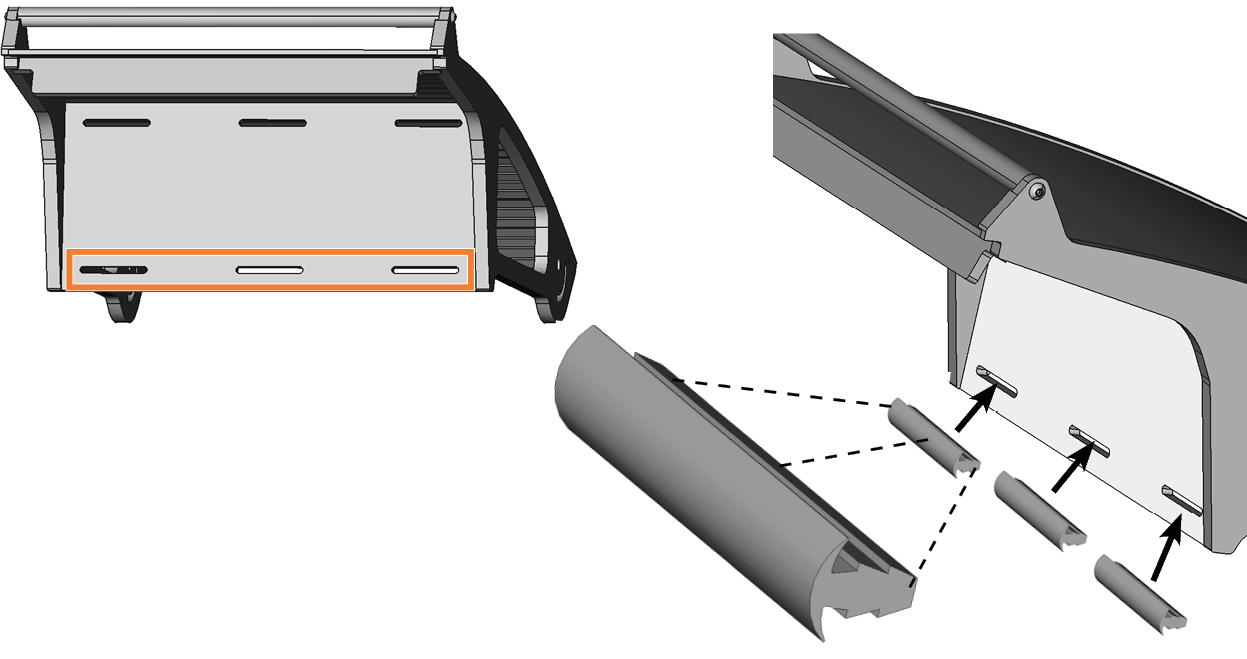
Insert the gaskets into the bottom 3 openings of the working chamber door (marked orange).
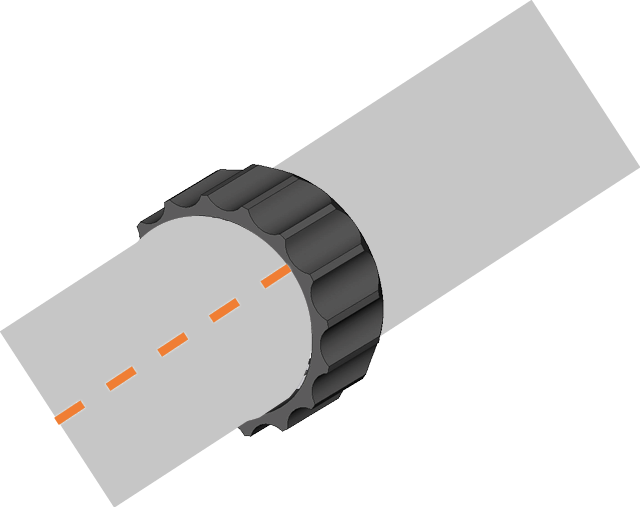
Connecting the extraction system
-
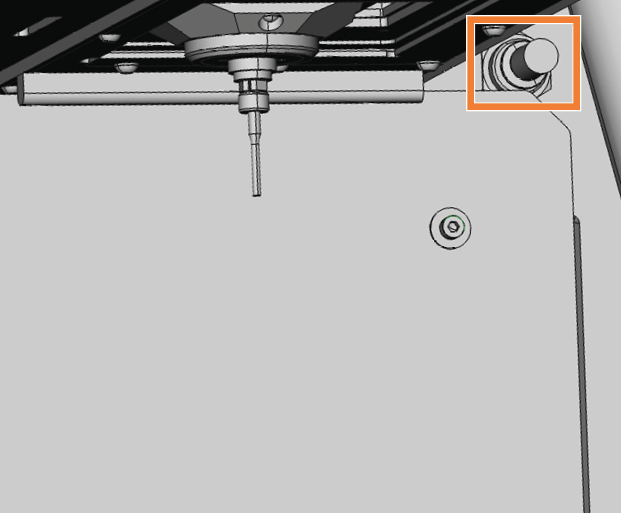
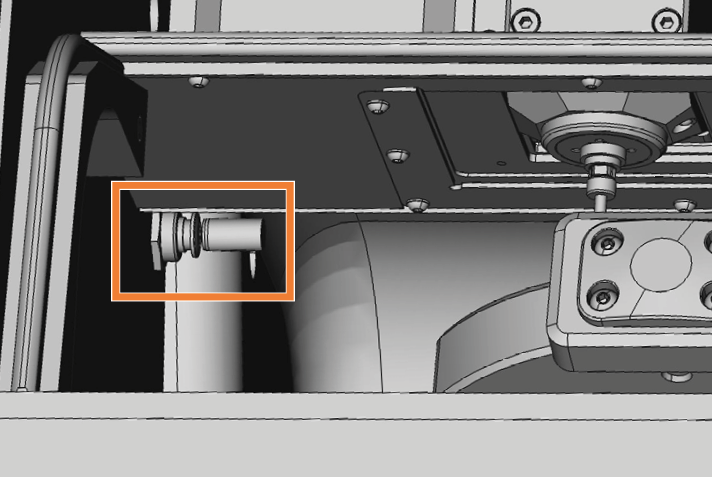
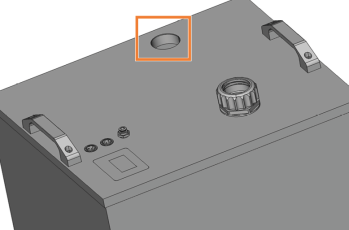
Remove the suction hose from the milling machine and insert it into the suction port (marked orange) on the wet grinding module.
-
Connect the connecting hose to the milling machine.
-
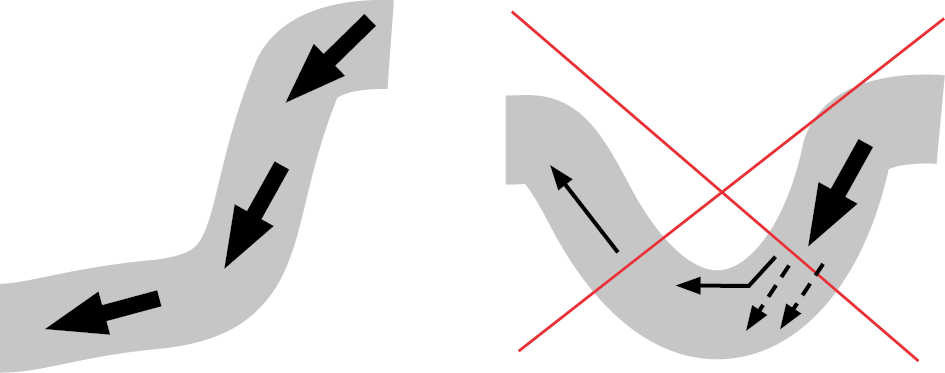
The connecting hose must not be longer than 1.5 m. This limits the distance between the milling machine and the wet grinding module.
-
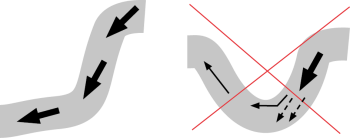
The connecting hose must not sag.
-
Hold the connecting hose to the connection on the wet grinding module.
-
If the connecting hose sags, shorten it.
-
Mark the location at which the connecting hose should reach the connection on the wet grinding module.
-
Add another 3 cm. Cut the connecting hose at this location with a sharp knife.
-
-
Unscrew the union nut on the wet grinding module.
-
Push the connecting hose through the union nut. Make sure that the white sealing ring does not fall out.
-
Slide the union nut to the end of the hose. Leave a gap of 3 cm.
-
Insert the connecting hose into the connection and tighten the union nut.

To prevent a loss of power during suction, observe the following guidelines.
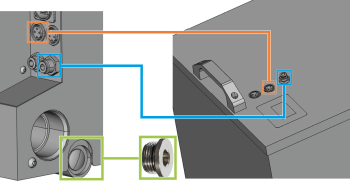
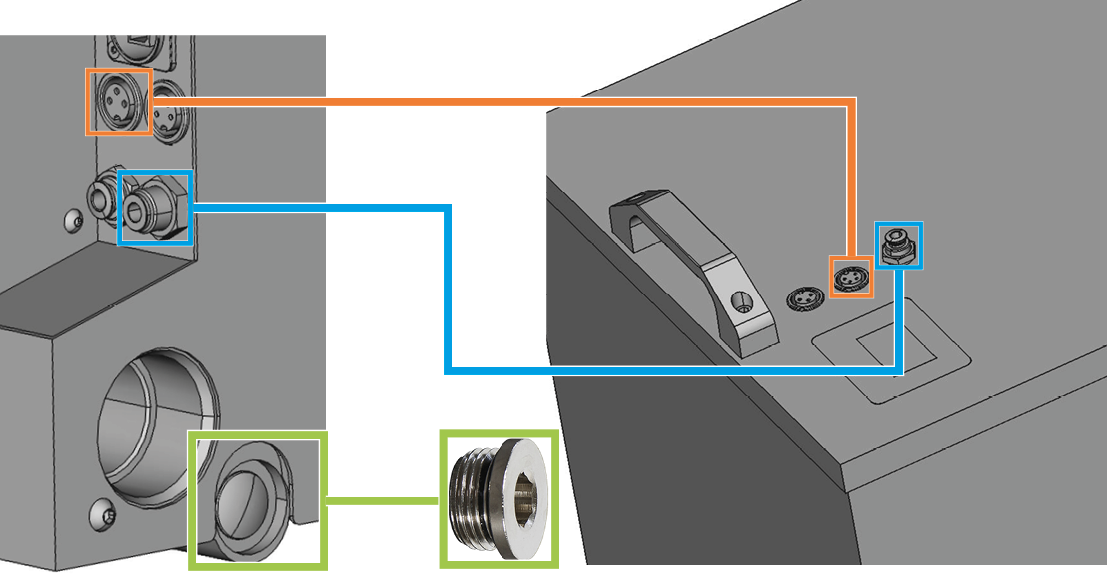
Establishing a connection
-
Connect the control cable (marked orange).
-
Connect the cooling liquid hose (marked blue).
-
If applicable: Install the sealing plug (marked green).
-
The connections installed here can also stay connected during dry operation.
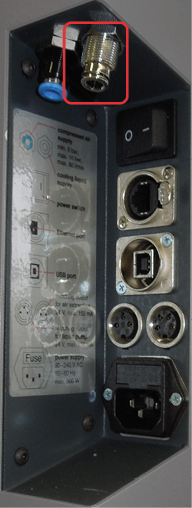
DANGER!If the cooling liquid connection of your milling machine is located at the top of the connection panel (marked red), you must use the power supply unit RCD wet grinding module.
Filling the cooling liquid
-
Disconnect the wet grinding module from the electrical supply.
-
Remove the module insert.
-
Pull out the cooling liquid tank.
-
Fill 14.25 l (fill level approx. 173 mm) of tap water into the cooling liquid tank.
-
Add 0.75 l of cooling lubricant.
-
They have a 15-liter emulsion of water and cooling lubricant with a mixing ratio of 5%.
-
-
Insert the cooling liquid tank.
-
Insert the module insert.
-
Connect the power supply unit to the wet grinding module and to the electrical circuit.
Putting the cooling liquid pump into operation
-
Activate the cooling liquid pump in dentalcnc.
-
Leave the cooling liquid pump activated until cooling liquid leaks from the spindle nozzles. This can take up to 5 minutes when starting up for the first time or after exchanging the fine filter cartridge.
