Exchanging the measuring key
Watch the video
YouTube video – When viewing this video, personal data is sent to YouTube, LLC, USA. Privacy statement
-
Have ready:
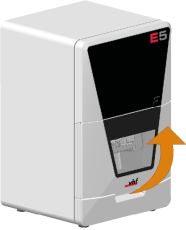
- Open the working chamber door.
-
CAUTION!Wear gloves.
-
Remove the tool from position E1.
-
Close dentalcnc.
-
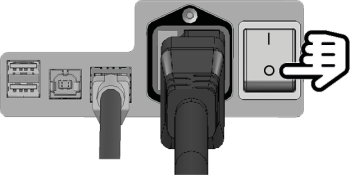
Switch off the machine at the main power switch.
-
Use the TX10 angle screwdriver to remove the 2 screws holding the measuring key in place.
-
Gently pull the measuring key up a little. Pay attention to the plugged-in measuring key cable.
-
Push in the side clip on the connector of the measuring key cable and pull the connector out of the socket.
-
Remove the measuring key with its cable from the working chamber.
-
Handle the spare measuring key.
-
Plug the measuring key cable connector into the socket in the A-B axis module.
-
Insert the spare measuring key into the opening as shown.
-
Use the TX10 angle screwdriver to tighten the spare measuring key with the 2 screws.
-
Close the working chamber door.
-
Start dentalcnc.
-
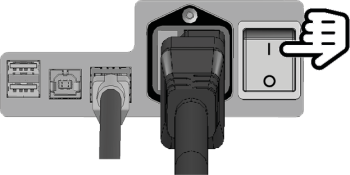
Switch on the machine at the main power switch.
-
Check that the measuring key is operational.
-
If the measuring key does not work, check the wiring.
-
Measure the measuring key.


