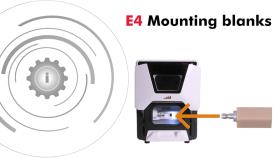
Mounting and removing blanks
Watch the video
YouTube video – When viewing this video, personal data is sent to YouTube, LLC, USA. Privacy statement
The workflow for restoration is as follows:
→
→
→
→
NOTICE
Damage to tools and blanks as well as defective machining results due to incorrect fixing
If blanks move or vibrate during machining, the result may become unusable. Tightening screws too much can damage blanks.
-
Tighten the screws on the clamping devices with the specified torque.
Suitable blanks
The machine can process the following blanks:
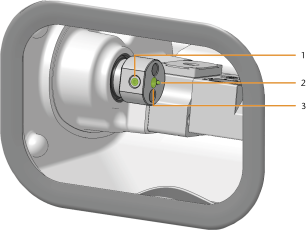
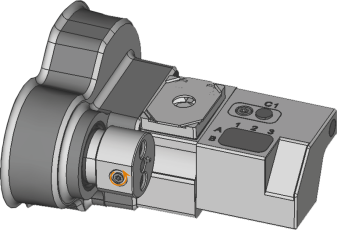
Overview of the blank holder
The blank holder must be in the default position for mounting blanks.
-
Fixing screw of the blank holder
-
Opening of the blank holder
-
Positioning pin
Moving the axes to the default position
-
Close the working chamber door.
 Move the axes into the default position by selecting the depicted icon in the Machining view in dentalcnc.
Mounting and removing blocks
-
Open the working chamber door.
-
CAUTION!Wear gloves.
-
The block type must correspond to the corresponding job in dentalcam.
-
Loosen the fixing screw of the blank holder without unscrewing it.
-
Remove the blank from the blank holder if present.
-
If the block is multilayered, align the blank so that the top layer of color is on top.
-
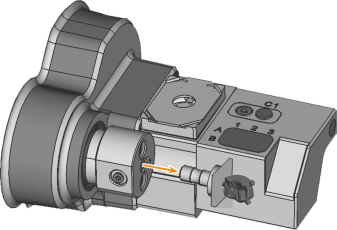
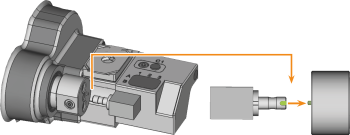
Position the block so that the positioning pin at the blank holder lies in the groove in the block shaft.
-
Insert the shaft of the block into the blank holder as far as it will go.
-
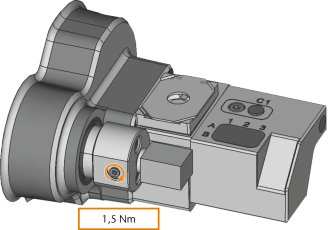
Use the supplied torque screwdriver (1.5 Nm) with a TX10 bit to fix the block in place with the fixing screw.
NOTICE! Tool breakages and defective machining results due to incorrect block assignment
What's next?
Make sure that the tool required for machining is inserted.
