Mounting and removing blanks
→
→
→
→
Watch the video
YouTube video – When viewing this video, personal data is sent to YouTube, LLC, USA. Privacy statement
NOTICE
Damage to tools and blanks as well as defective machining results due to incorrect fixing
If blanks move or vibrate during machining, the result may become unusable.
-
Make sure that the blank is firmly locked onto the blank holder and cannot move.
Suitable blanks
The machine can process the following blanks:
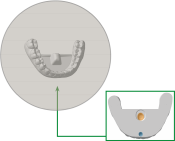
Thermoformed dental splints on a dental arch model with vhf-specific mounting bracket.
-
The maximum thickness of the dental splint material is specified in trimcam .
-
Use dental splint material according to the selection options in trimcam.
-
-
The maximum diameter of the dental splint material is 125 mm. Excess dental splint material may need to be roughly removed prior to machining.
The blanks must be prepared individually before being mounted in the machine.
Mounting and removing blanks
 Move the axes into the default position by selecting the depicted icon in the Machining view in dentalcnc.
-
Open the working chamber door.
-
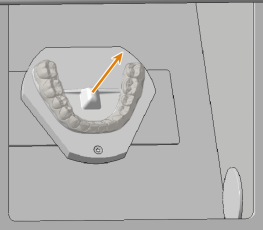
If present, pull the mounted blank straight off the blank holder.
-
Pick up the blank that you want to mount.
-
If necessary: Roughly cut off excess dental splint material from the blank so that you can easily mount the blank.
-
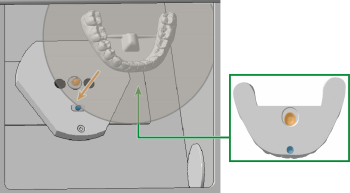
Align the recesses in the base of the blank with the positioning pin (marked blue) and the pressure piece (marked orange) of the blank holder.
-
Place the blank on the positioning pin at an upward angle. Tilt the blank down until it snaps onto the blank holder.
-
NOTICE! Make sure that the blank is firmly locked onto the blank holder and cannot move. If necessary, repeat the previous step.
-
You have successfully mounted the blank.
-
What's next?
If you want to start the job directly:
Starting, interrupting, canceling jobs
If you want to change the tool:


