Inserting and exchanging tools
→
→
→
→
Watch the video
YouTube video – When viewing this video, personal data is sent to YouTube, LLC, USA. Privacy statement
NOTICE
Damaging of the spindle or the tool positions if you use improper tools
Improper tools can damage the collet chuck of the spindle and / or the tool positions.
-
Only use tools with a sufficiently large chamfer at the tool shank.
-
Install a retaining ring as a stop ring according to DIN 471-A3.
-
See the further instructions in chapter Technical data.
The machine usually machines all jobs with the same tool. You need to insert or exchange tools in the following cases:
- When the tool life of a tool has expired
- When the tool is damaged or worn
- If a tool other than the standard tool is required
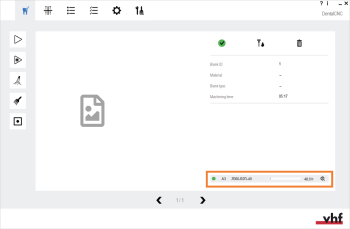
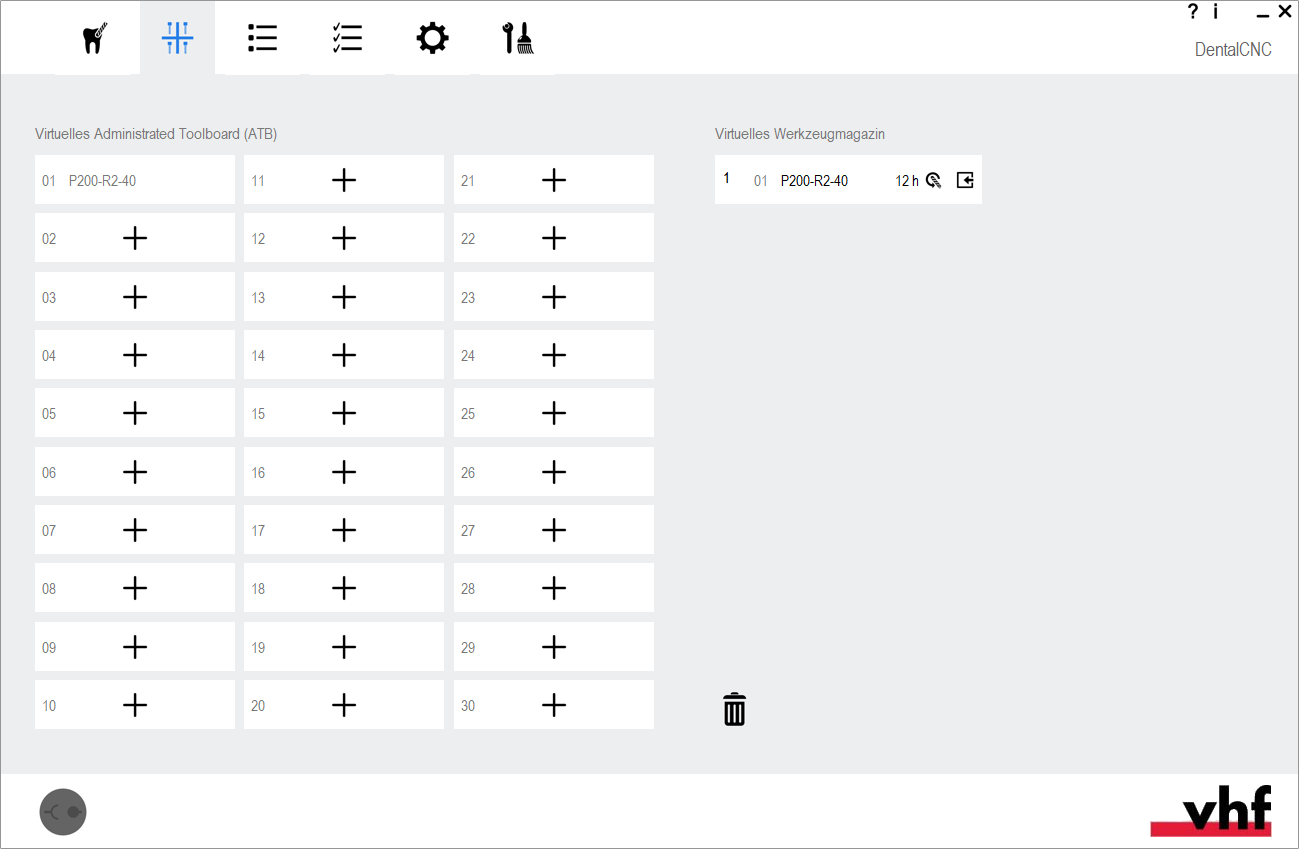
In dentalcnc you can check the required tools and tool lives. A tool required for a job must be assigned to the virtual tool magazine, the tool life must be reset after exchanging a tool. To do this, use the views Machining and Tool Management:
-
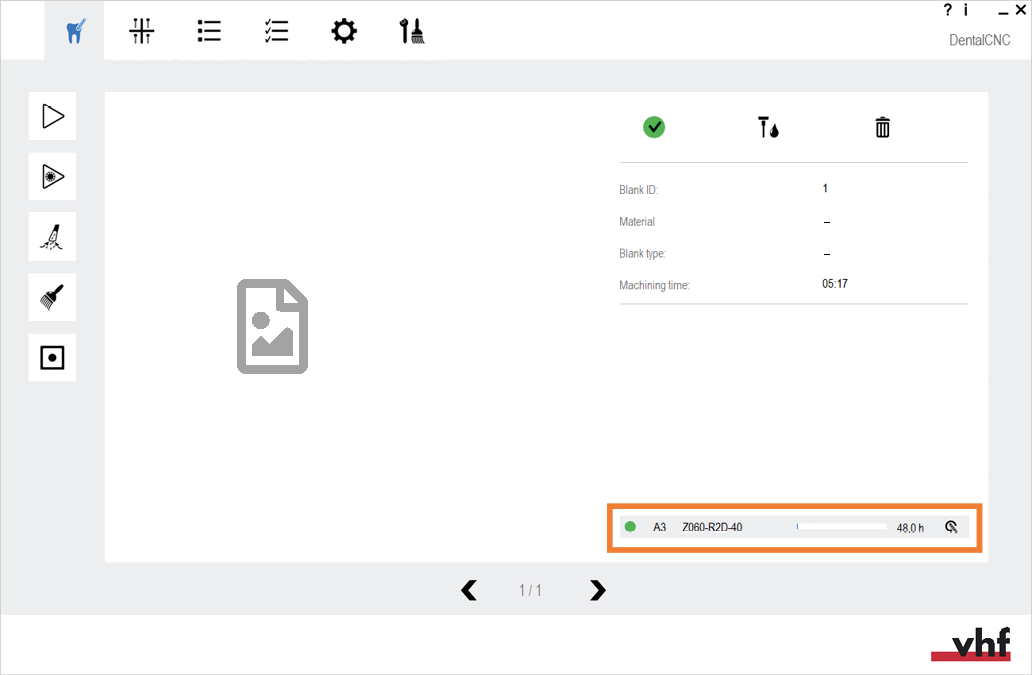
dentalcnc shows the tools (marked orange) needed for a job and their tool life in the Machining view.
-
In the view for Tool Management in dentalcnc you add tools, assign them to the virtual tool magazine and reset the tool life.

Inserting tools into the collet chuck
-
CAUTION!Wear gloves.
-
Ensure the following:
Removing tools from the collet chuck
-
The spindle is in the tool change position.
-
The working chamber door is open.
-
The clamping nut is loosened and the tool has been removed.
-
-
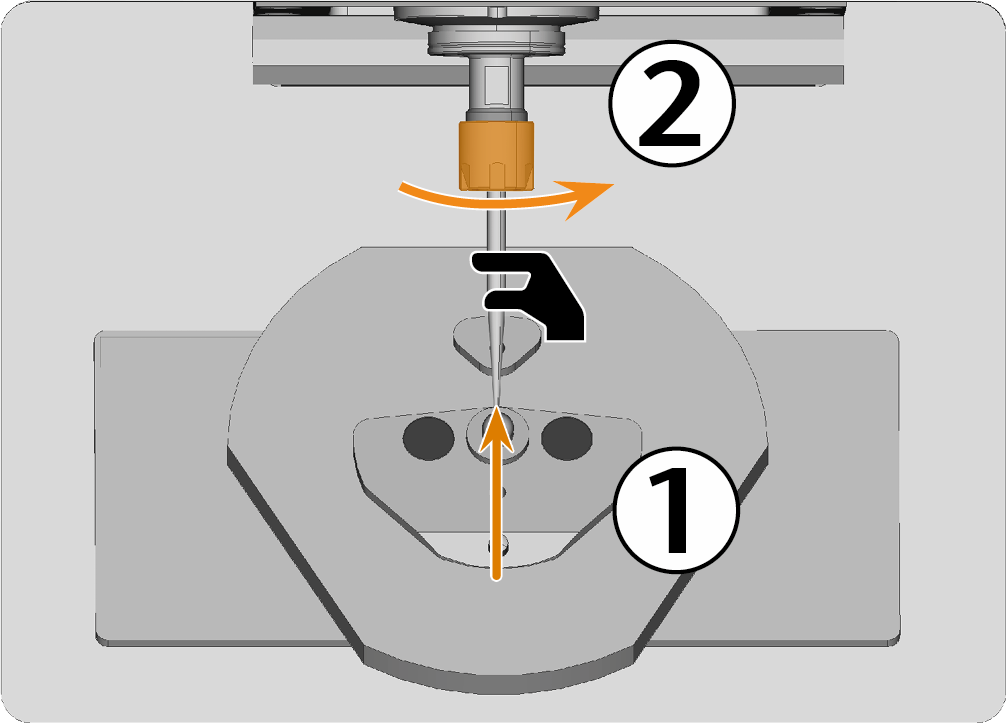
Insert the shaft of the new tool into the collet chuck as far as it will go. Hold the spindle and the tool in place with one hand.
-
Turn the clamping nut clockwise by hand until you feel resistance and the tool is held by the collet chuck.
-
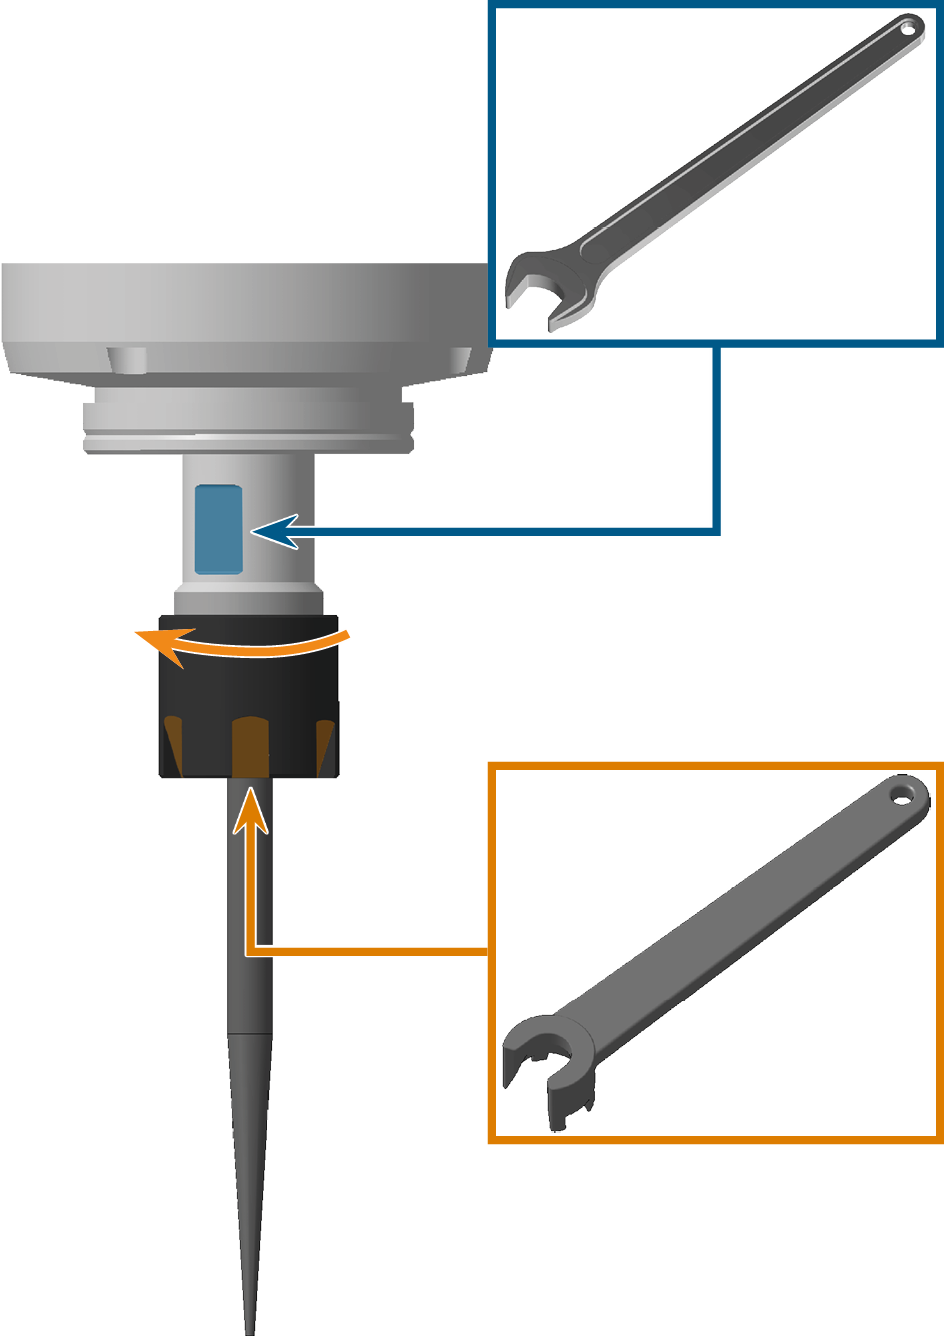
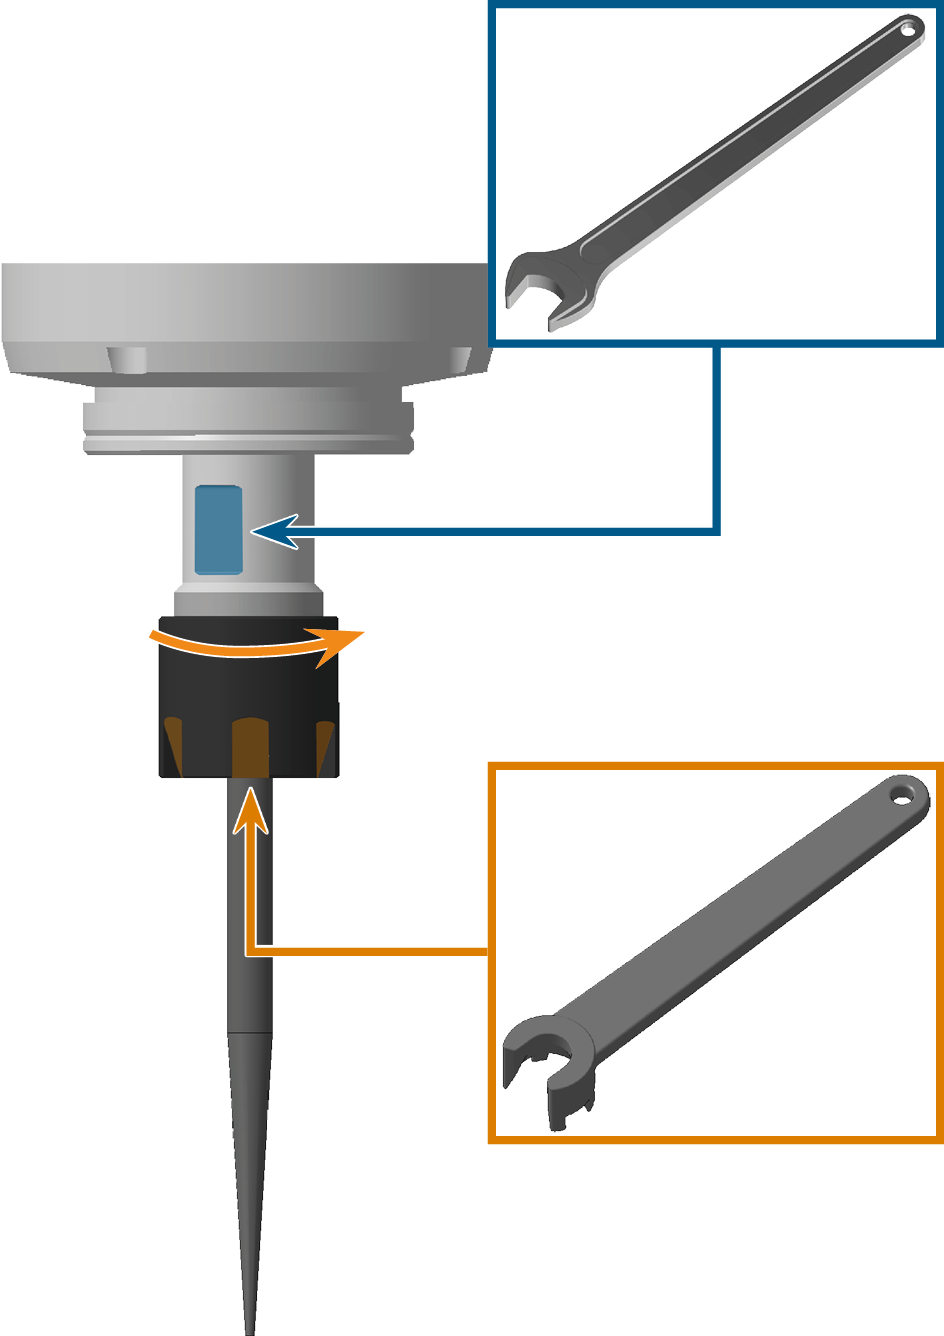
Tighten the clamping nut (marked orange) completely:
NOTICE! The clamping nut is not fully tightened when initial resistance is reached. The tool may come loose during machining and cause damage.
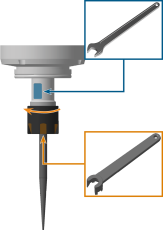
- Place the wrench on the flat surfaces (marked blue) on the spindle.
- Tighten the clamping nut clockwise with the clamping wrench. In doing so, turn the clamping nut beyond initial resistance and make sure that the clamping nut is completely tight.

-
If the tool is taking the place of an old tool of the same type, reset the tool life.
-
If you have inserted another tool from your inventory, assign it to the virtual tool magazine. If it is an additional new tool, first add it to the virtual ATB.
Removing tools from the collet chuck
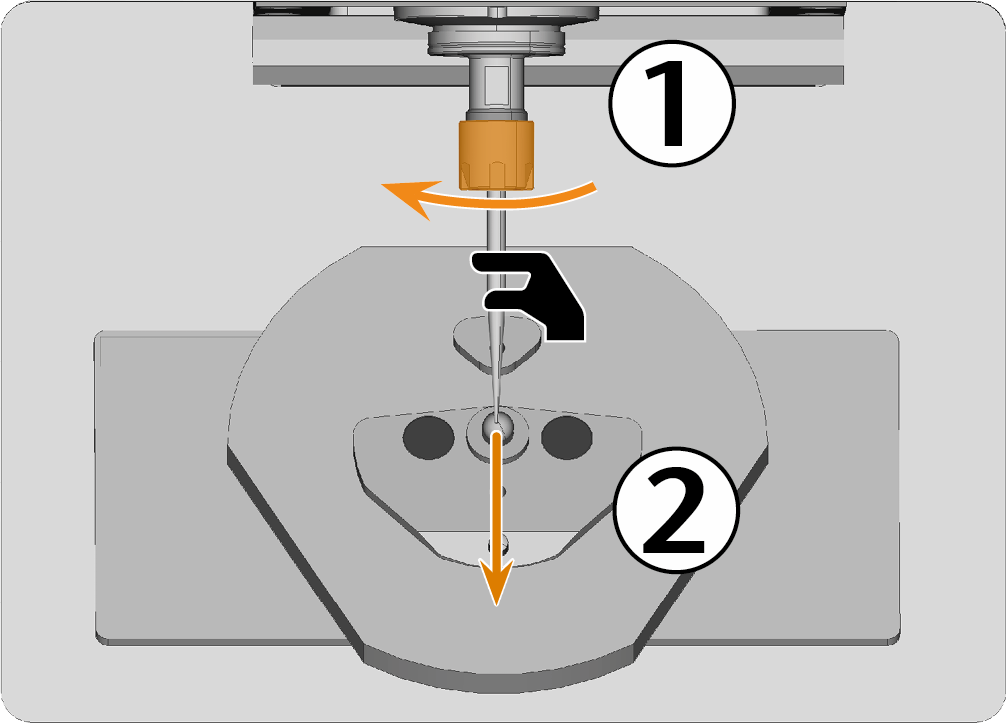
 Move the axes into the tool change position by selecting the depicted icon in the Machining view in dentalcnc.
-
CAUTION!Wear gloves.
-
Open the working chamber door.
-
Loosen the clamping nut (marked orange):
- Place the wrench on the flat surfaces (marked blue) on the spindle.
- Turn the clamping nut with the clamping wrench approx. 1/4 turn counter-clockwise until the clamping nut can be moved by hand.
-
Hold the tool and spindle with one hand and turn the clamping nut (marked orange) counterclockwise with the other hand until the tool releases.
-
Remove the old tool from the collet chuck.
-
If you put the tool back to your inventory or no longer use the tool type, configure dentalcnc accordingly.