Moving, editing and deleting label texts milled on objects
This procedure does not belong to the simple nesting workflow.
This procedure belongs to step 13 of the complete nesting workflow.
If you added labels to object during import, you can edit and delete the label texts in the nesting view for adjusting objects.
-
You cannot add labels in the nesting view. For this, you will have to delete objects and re-import them with labels activated in the calculation options.
-
You can specify the milling parameters for labels in the application settings.
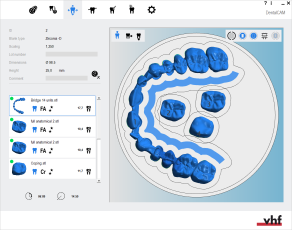
- Open the Nesting view for adjusting objects with the following icon in the main icon bar:

How to move label texts
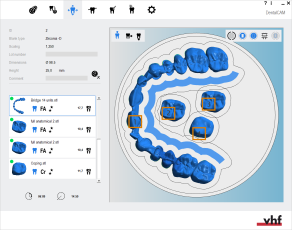
- Select and hold the label text that you want to move.
- Move the label text to the desired position by dragging the mouse.
- Release the mouse button.
- Make sure that the label texts lies within the boundaries of the object. Characters outside of objects will not be milled.
How to change label texts
By default, dentalcam assigns continuous numbers as label texts to objects.
You can change the label text as follows:
- Double-click onto a label.
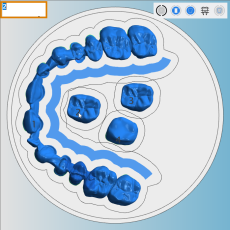
- An input field displays in the top left corner of the blank display.
- Enter the desired label text into the input field.
- Press Enter.
- dentalcam adjusts the blank display accordingly.
Deleting labels
You can delete labels from objects as follows:
This cannot be undone. If you want to re-add a label to the object, you will have to re-import the object.
- Double-click onto a label.
- An input field displays in the top left corner of the blank display.
- Remove all characters from the input field.
- Press Enter.
- dentalcam removes the label from the object and adjusts the blank display accordingly.
What's next?
If you are finished with adjusting objects:
If you are unsure whether you are finished nesting the current blank, see the simple and complete nesting workflow:


