Unpacking and positioning the machine
Watch the video

YouTube video – When viewing this video, personal data is sent to YouTube, LLC, USA. Privacy statement
Electric shock due to leaking cooling liquid
-
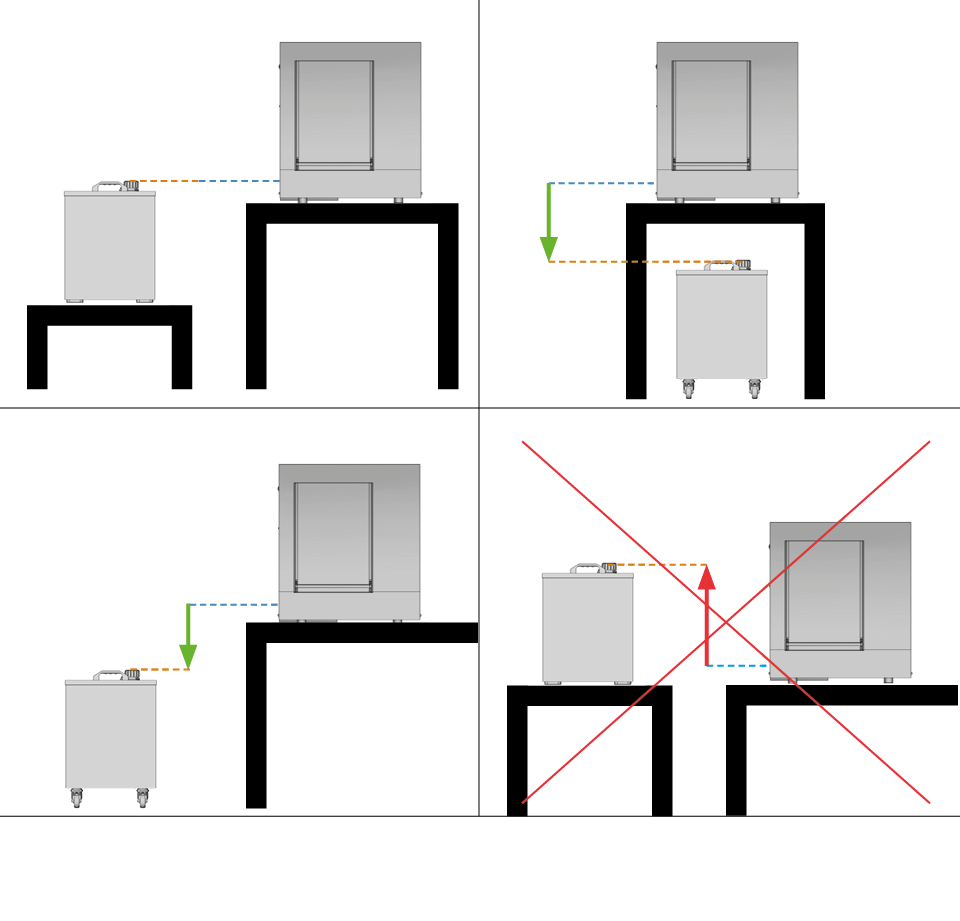
Make sure that there are no electrical devices underneath the wet grinding module.
-
Do not lay water-bearing pipes over electrical cables or electrical devices.
The installation site must meet the limit values and requirements in chapter Technical data.
-
Unpack the module. Please keep the packaging of the module for possible service returns.
-
Set up the module so that the connection of the connecting hose on the wet grinding module is not higher than the suction port on the milling machine.
Attaching castors
The wet grinding module is supplied with stationary feet by default. We recommend attaching the castors if you store the wet grinding module on the floor or under a table where it is freely accessible. This makes it easier to reach the module when refilling the liquid or replacing the filter.
-
Remove the module insert and the cooling liquid tank from the housing.
-
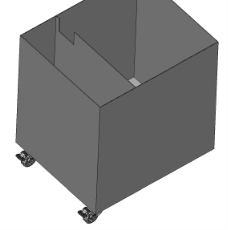
To make it easier to access the underside, lay the housing on its side.
-
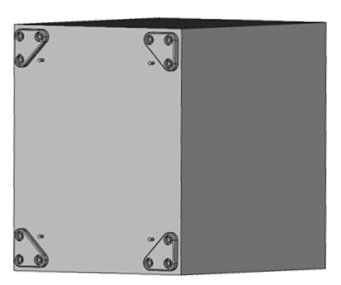
Remove the nuts and the feet of the housing.

-
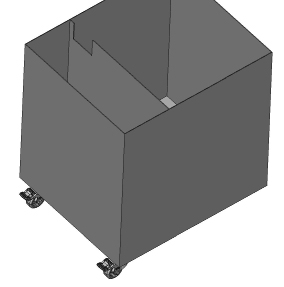
Attach the castors. Make sure that the 2 castors with the built-in brakes are attached at the front.
-
Secure each castor with 4 washers and 4 nuts.
-
Roll the wet grinding module to the desired location and activate the brakes.
What's next?
If you want to proceed directly with the installation:
If you want to get an overview of the machine first: