Exchanging the fixing latches of the side panels
The figures in this description show the E4, but the relevant components of the E3 are identical or very similar. The described procedure applies for both machines.
Watch the video
YouTube video – When viewing this video, personal data is sent to YouTube, LLC, USA. Privacy statement
If the side panels no longer hold, exchange the fixing latches.
-
Have ready:
-
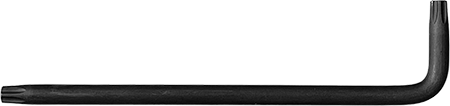
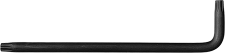
TX10 angle screwdriver
-
Spare fixing latch, quantity as required
-
-
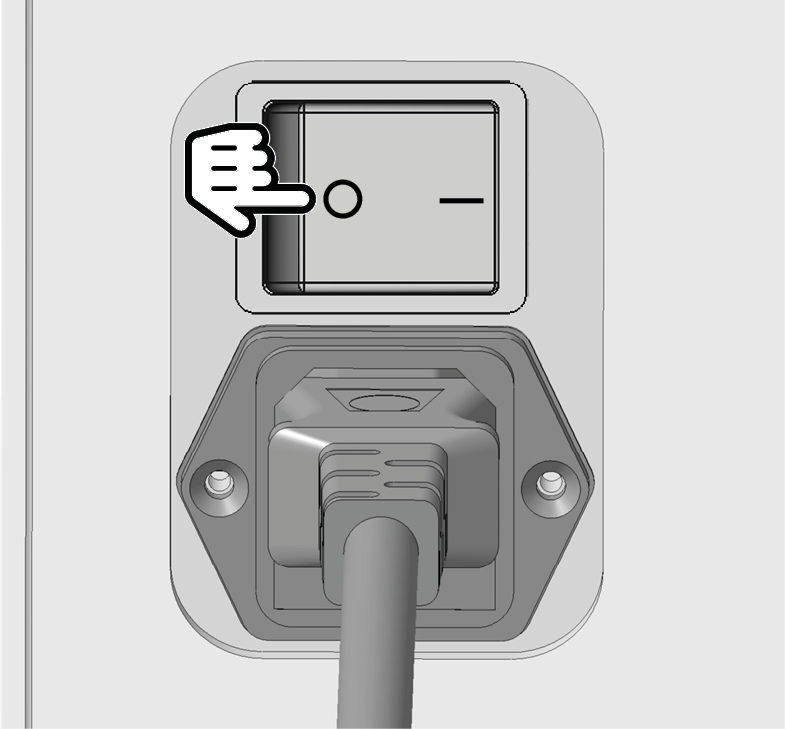
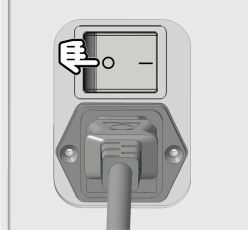
Switch off the machine at the main power switch.
-
Disconnect the machine from all lines.
-
Remove the side panel whose fixing latches you want to exchange.
-
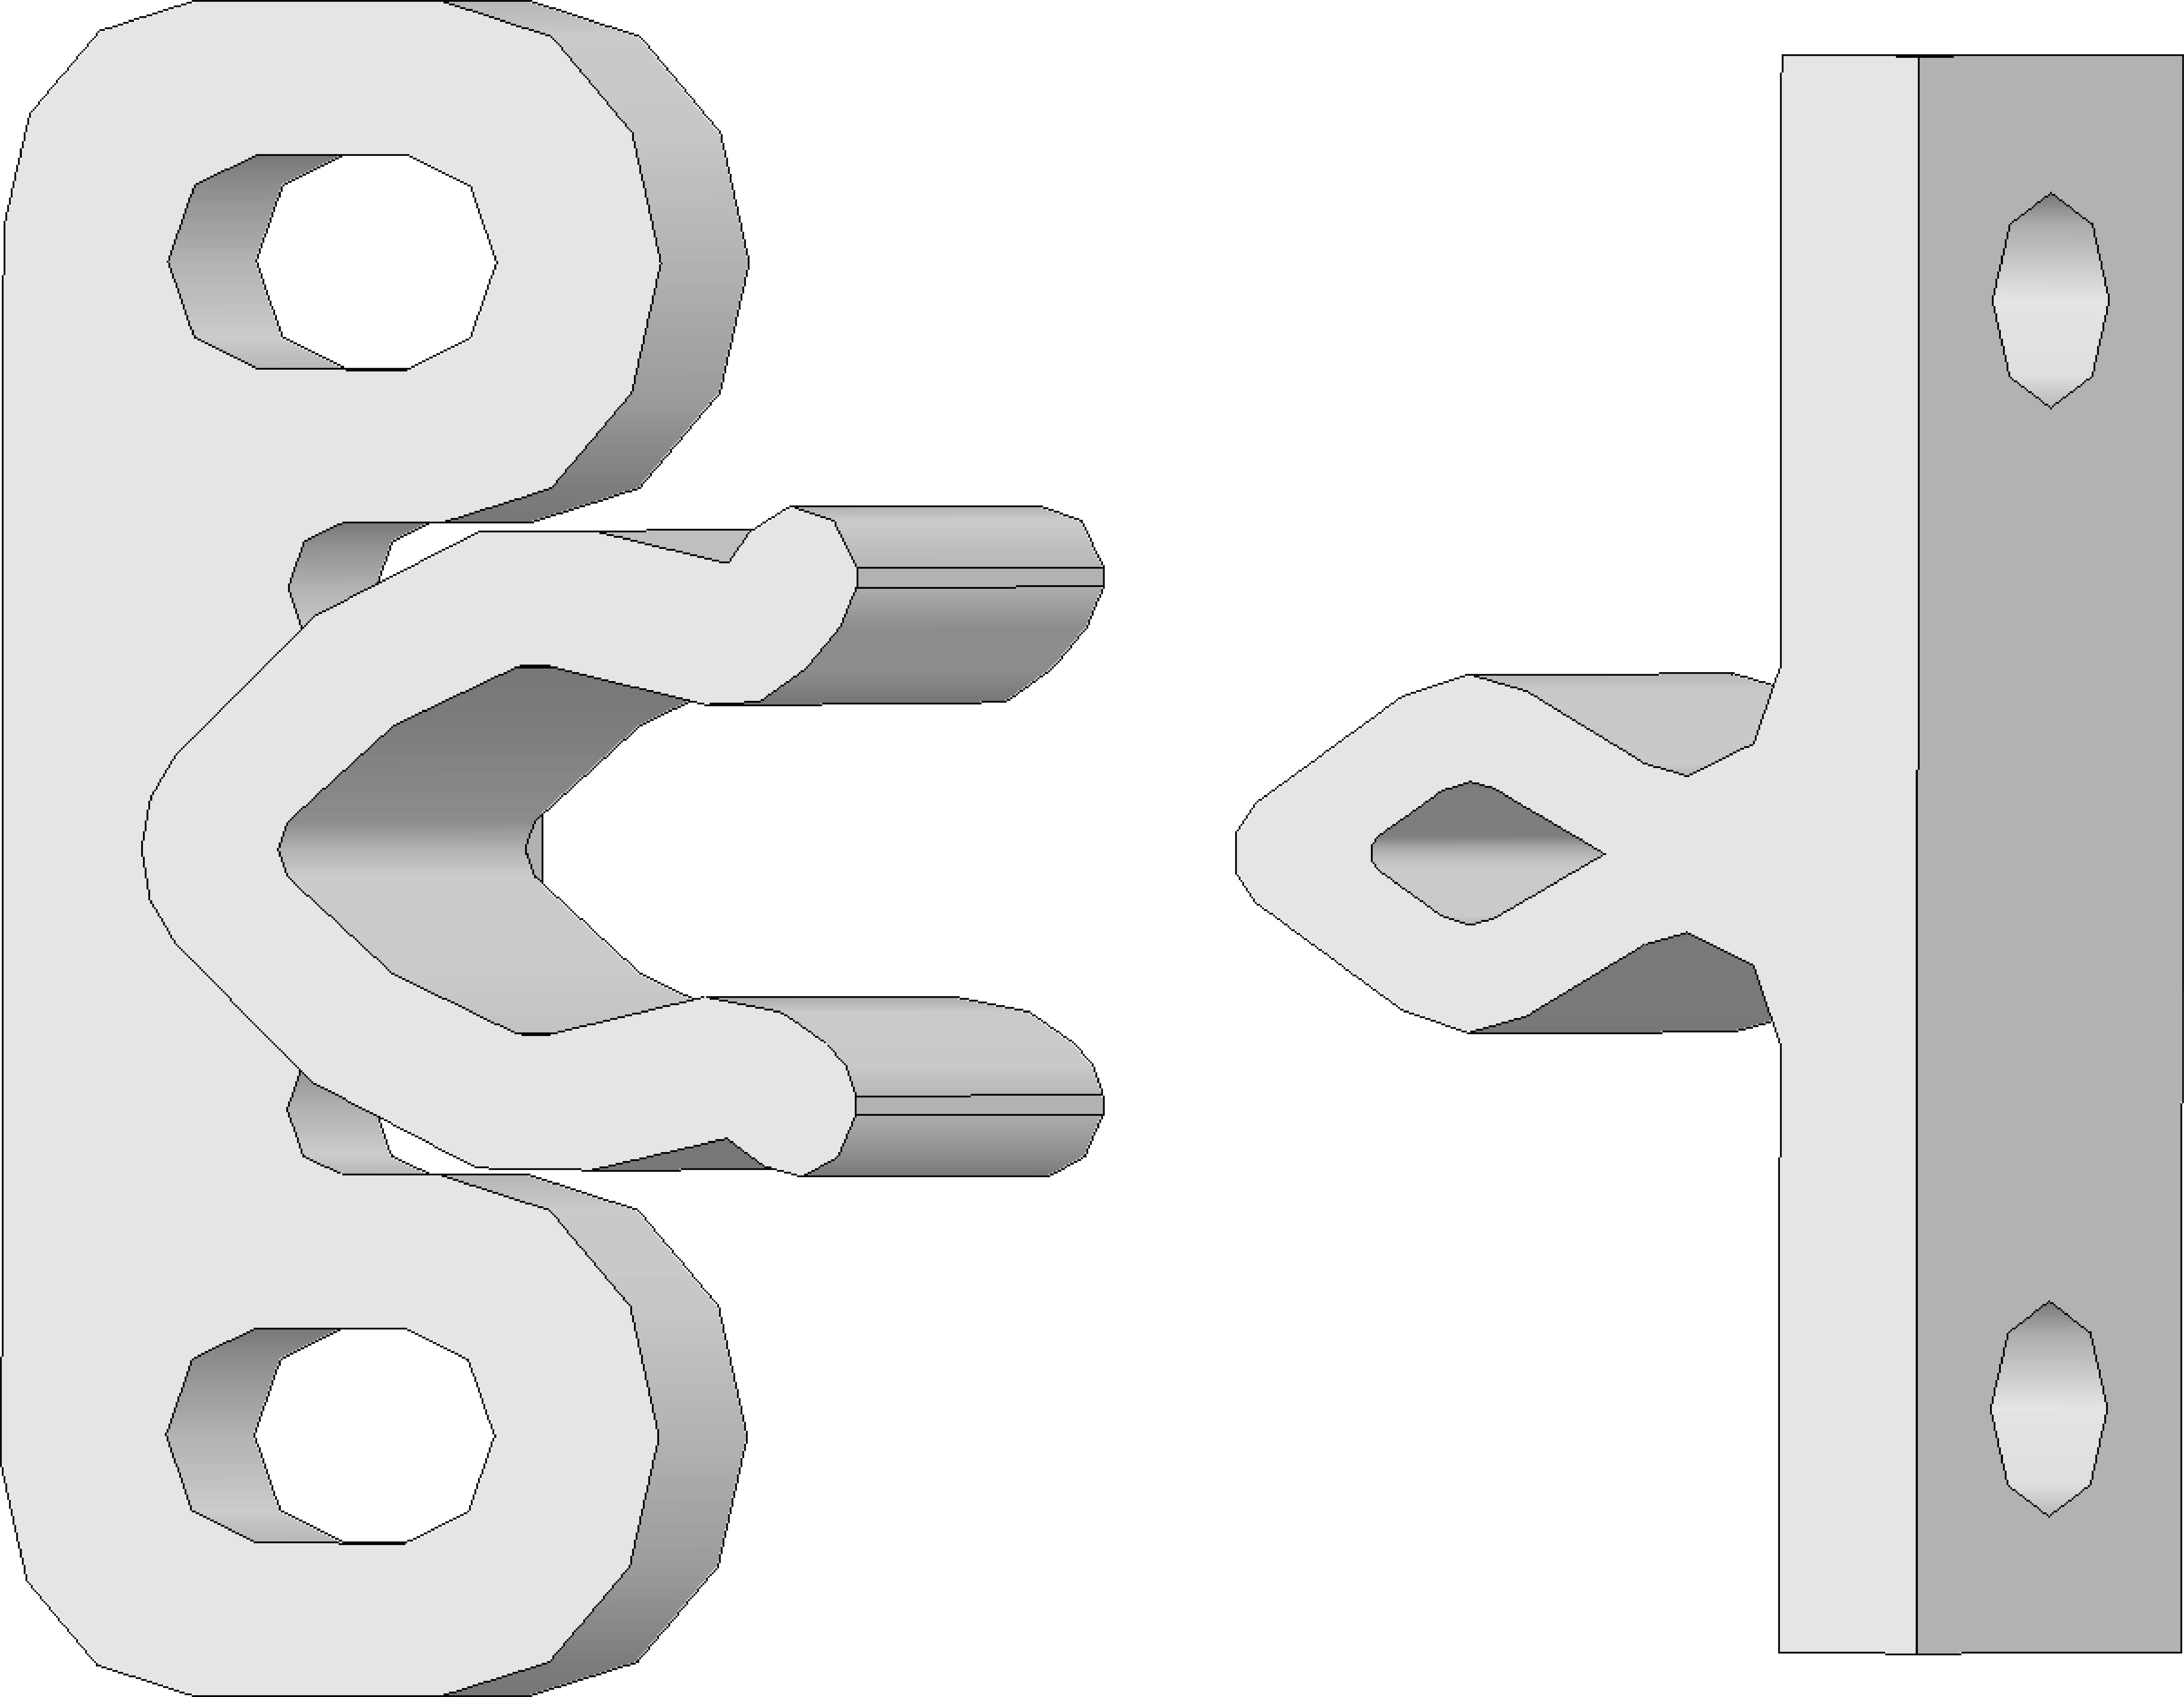
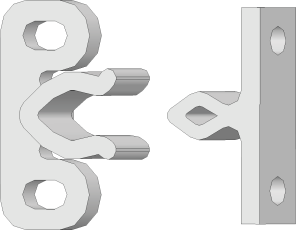
Exchanging the plugs of the damaged fixing latches on the side panel:
-
Loosen the 2 screws and remove the plug and screws from the machine.
-
Screw on the spare connectors in the same position. Use the screws from the spare item.
-
-
Only E4:
If you want to exchange the fixing latches on the left side panel:
-
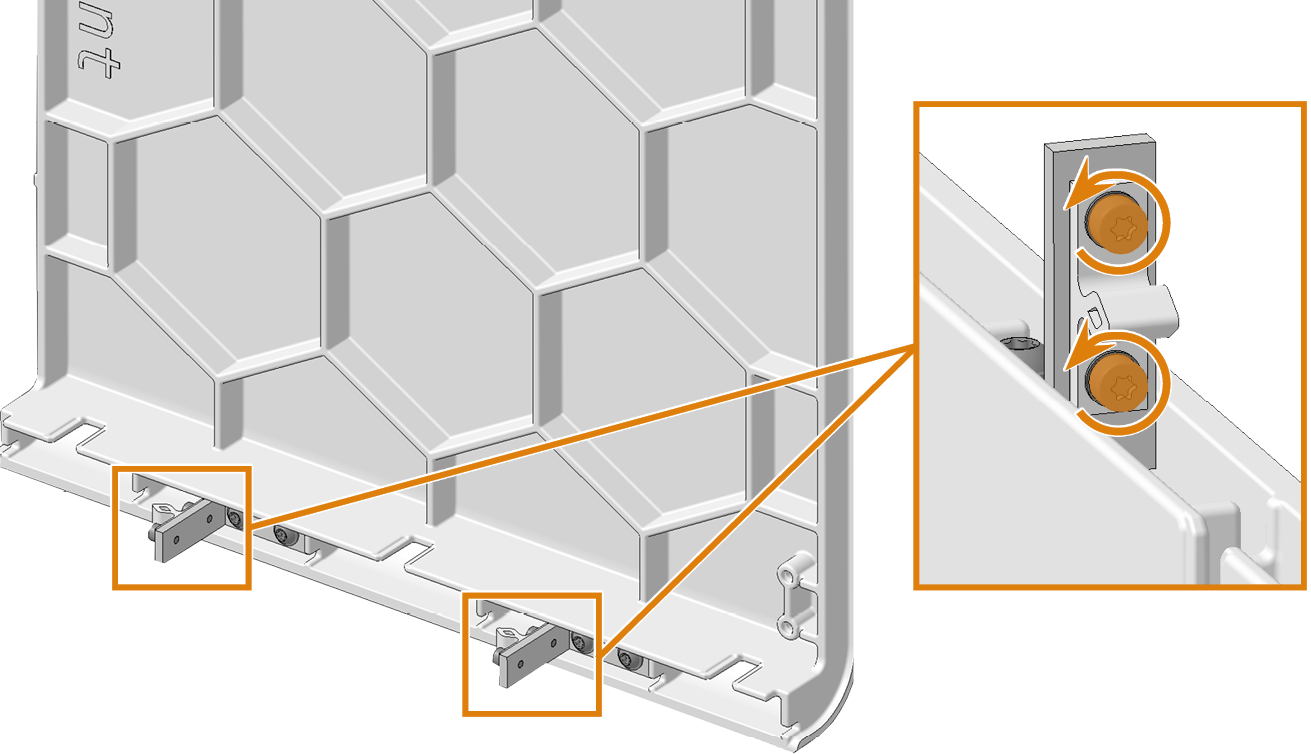
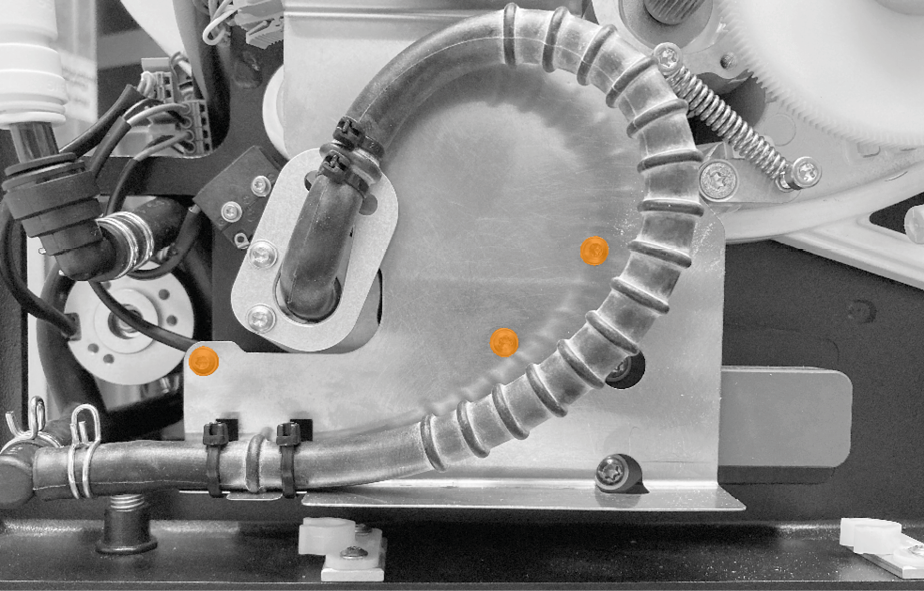
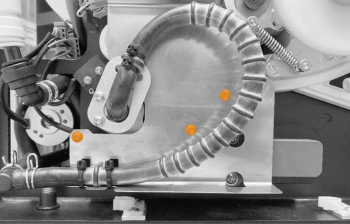
Remove the 3 screws of the hose guide.
-
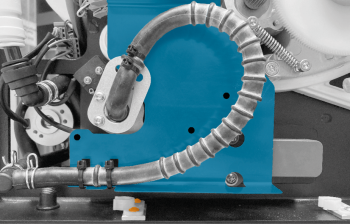
Move the hose guide to a position in which you can reach the screws of the sockets of the fixing latch with the angle screwdriver. Hold the hose guide (marked blue) in this position.
-
-
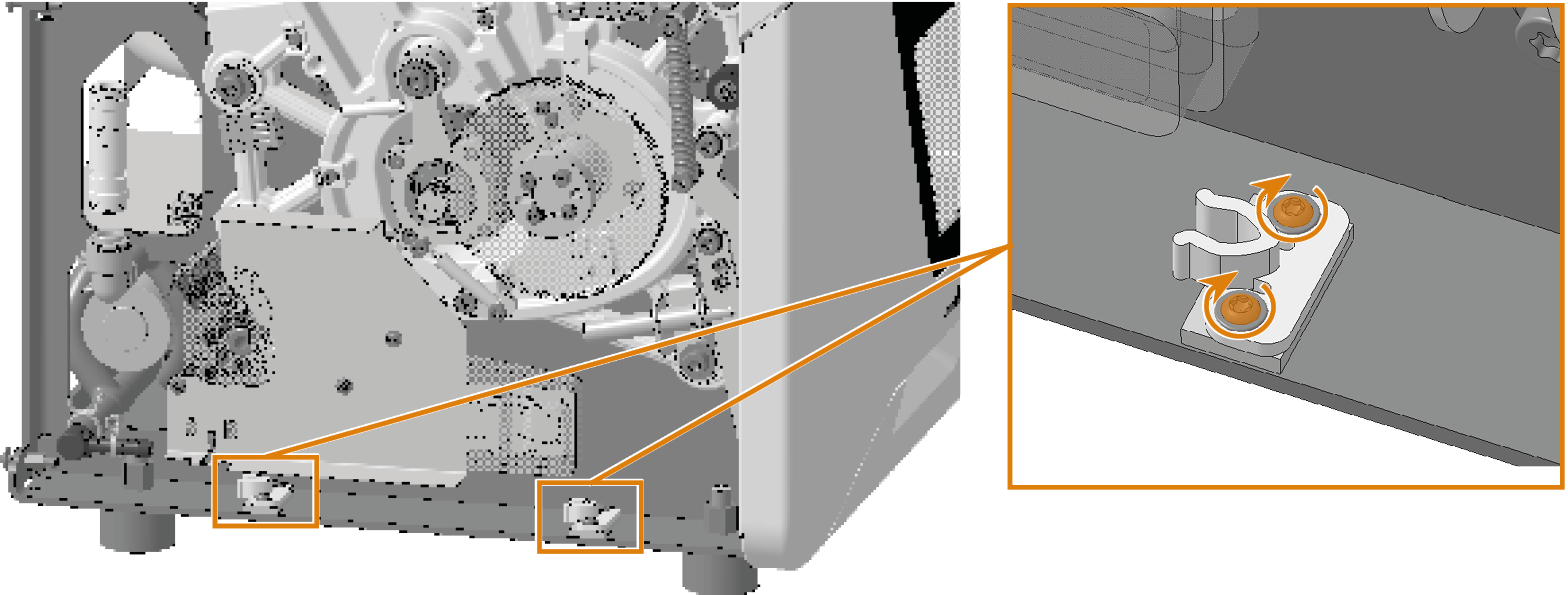
Exchanging the sockets of the damaged fixing latches on the machine body:
-
Mark the position of the sockets on the machine body with a marker.
-
Loosen the 2 screws and remove the sockets and screws from the machine.
-
Screw the spare sockets tightly into the marked position. Use the screws from the spare item.
-
-
Only E4:
If you have exchanged the fixing latches on the left side panel:
Tighten the 3 screws of the hose guide.
Secure the hose guide with the 3 screws.
-
Assemble the machine housing.