Exchanging the blank holder
You can remove and install the blank holder and the clamping devices on the blank holder independently of each other.
Components of the blank holder
-
Clamping devices
-
Blank holder
-
Blank holder support
Watch the video
![]()
YouTube video – When viewing this video, personal data is sent to YouTube, LLC, USA. Privacy statement
- Have ready:
-
Spare blank holder

Standard blank holder – other designs possible
-
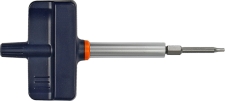
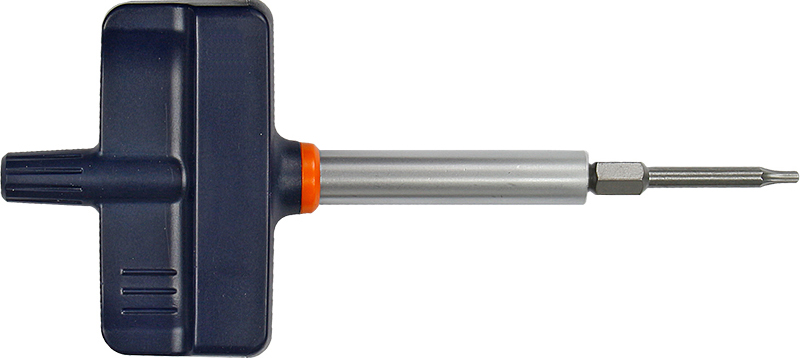
1 x Torque screwdriver 1.5 Nm with TX20 bit
-
1 x Pointed tool (e.g. screwdriver) if the fixing screws are covered with caps

-
-
Close the working chamber door.

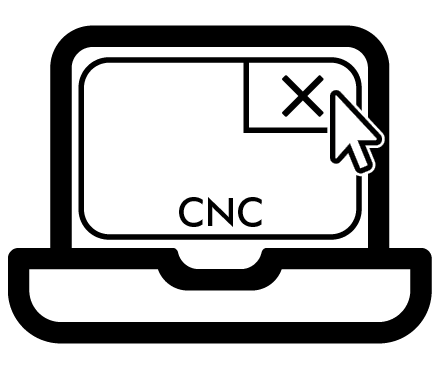
 Move the axes into the default position by selecting the depicted icon in the Machining view in dentalcnc.
- Exit dentalcnc.
-
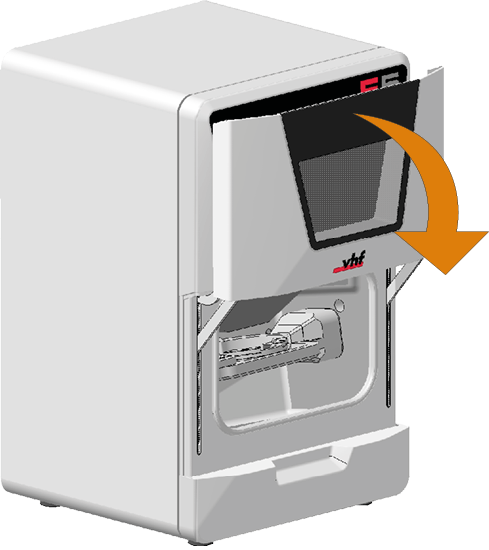
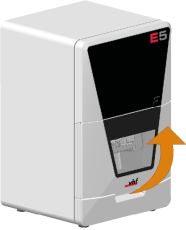
Open the working chamber door.
-
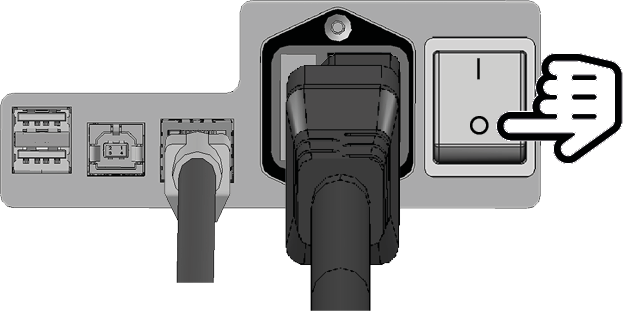
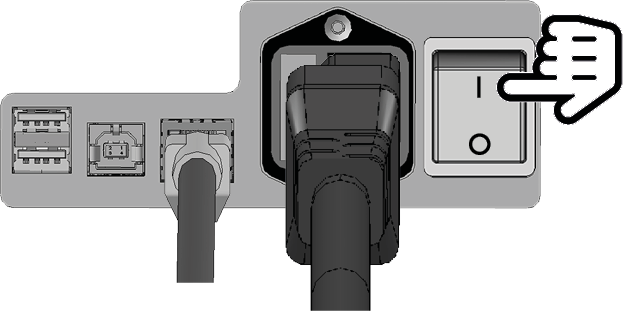
Switch off the machine at the main power switch.
-
CAUTION!Wear gloves.
-
Gently turn the blank holder 180° upwards.

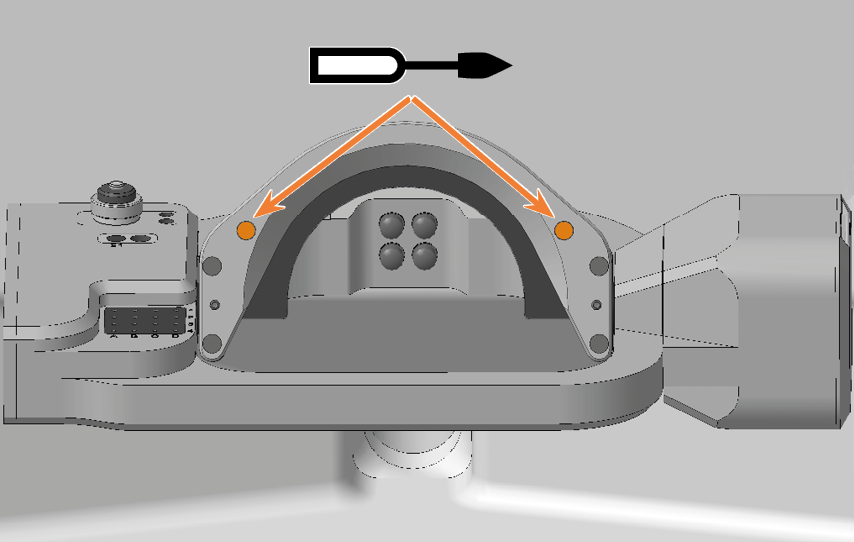
- If the 2 screws on the back of the blank holder are covered with caps (marked orange):
-
Pierce the cover caps with the pointed tool.
-
Pry out the cover caps.
-
Unscrew the 2 screws on the back of the blank holder.
-
Hold the blank holder. Gently turn the blank holder 180° down.

Cover caps (marked orange) are only fitted to some machines


-
Pull the blank holder forward from the positioning pin and remove it upward from the working chamber.

-
A drilling for the positioning pin is located on the rear side of the blank holder.
Slide the spare blank holder onto the positioning pin.


-
Hold the blank holder. Gently turn the blank holder 180° upwards.
-
- Screw the 2 screws into the back of the blank holder without tightening them.
-
Press the blank holder to the right and hold it in this position.
-
Tighten the right screw.
-
Tighten the left screw.
-
Gently turn the blank holder 180° down.
-
Check that the blank holder engages the contact surfaces of the support on the right side.

-
If this is not the case, realign the blank holder:
-
Gently turn the blank holder 180°.
-
Loosen the 2 screws without unscrewing them.
-
Continue with step 14 and follow the further steps.
-
-
Gently turn the blank holder 180° upwards.
-
Leave the 2 screws on the back of the blank holder uncovered.
-
Close the working chamber door.
-
Switch on the machine at the main power switch.
-
Calibrate the machine with dentalcnc.


ATTENTION! Damage to tools, blanks and the machine if the blank holder is positioned incorrectly
Removing and installing clamping devices
You can unscrew the clamping devices, e.g. for cleaning purposes.
-
Have ready:
-
1 x Torque screwdriver 1.5 Nm with TX20 bit
-
Removing the clamping device
-
Close the working chamber door.
- Move the axes into the default position by selecting the depicted icon in the Machining view in dentalcnc.
-
Open the working chamber door.
-
CAUTION!Wear gloves.
-
Remove the blank from the blank holder if present.
-
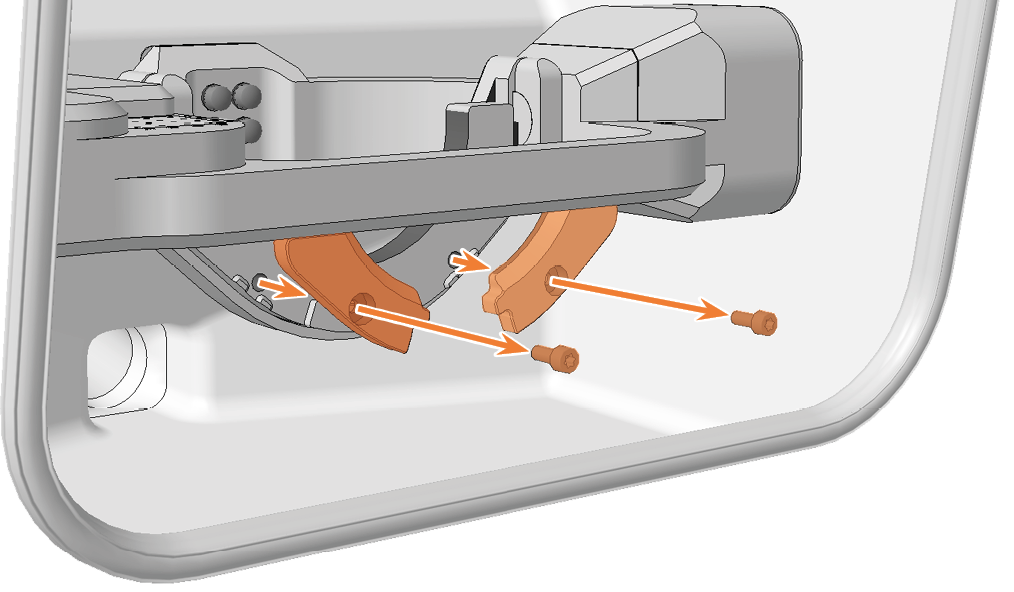
Unscrew and remove the 2 fixing screws from the 2 clamping devices.

-
Remove the 2 clamping devices.

Installing the clamping devices
-
CAUTION!Wear gloves.
-
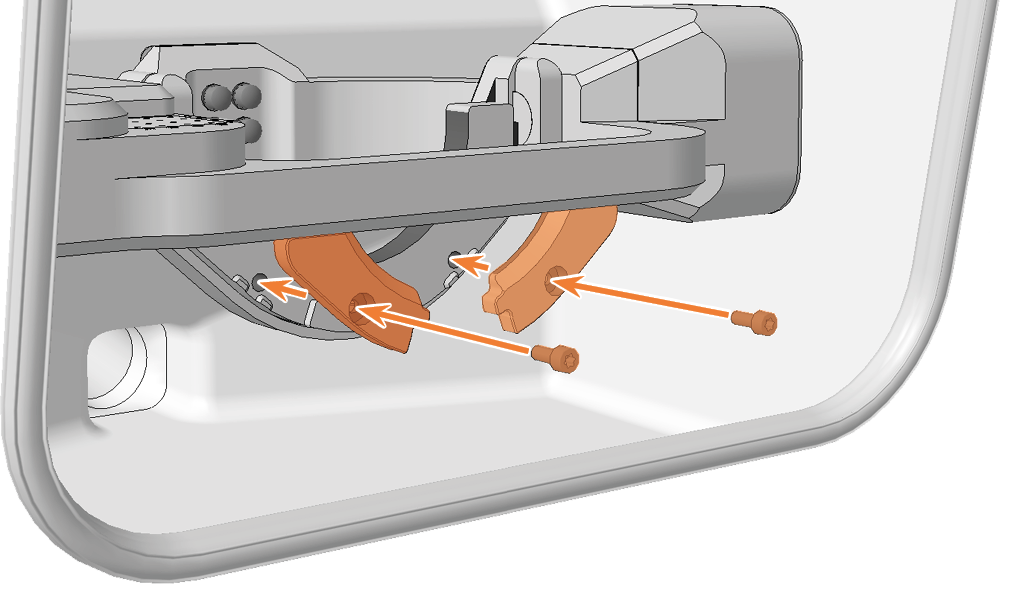
Position the 2 clamping devices on the blank holder. The screw holes in the holder and in the clamping devices shall be superimposed.
-
Insert the 2 fixing screws into the screw holes.
-
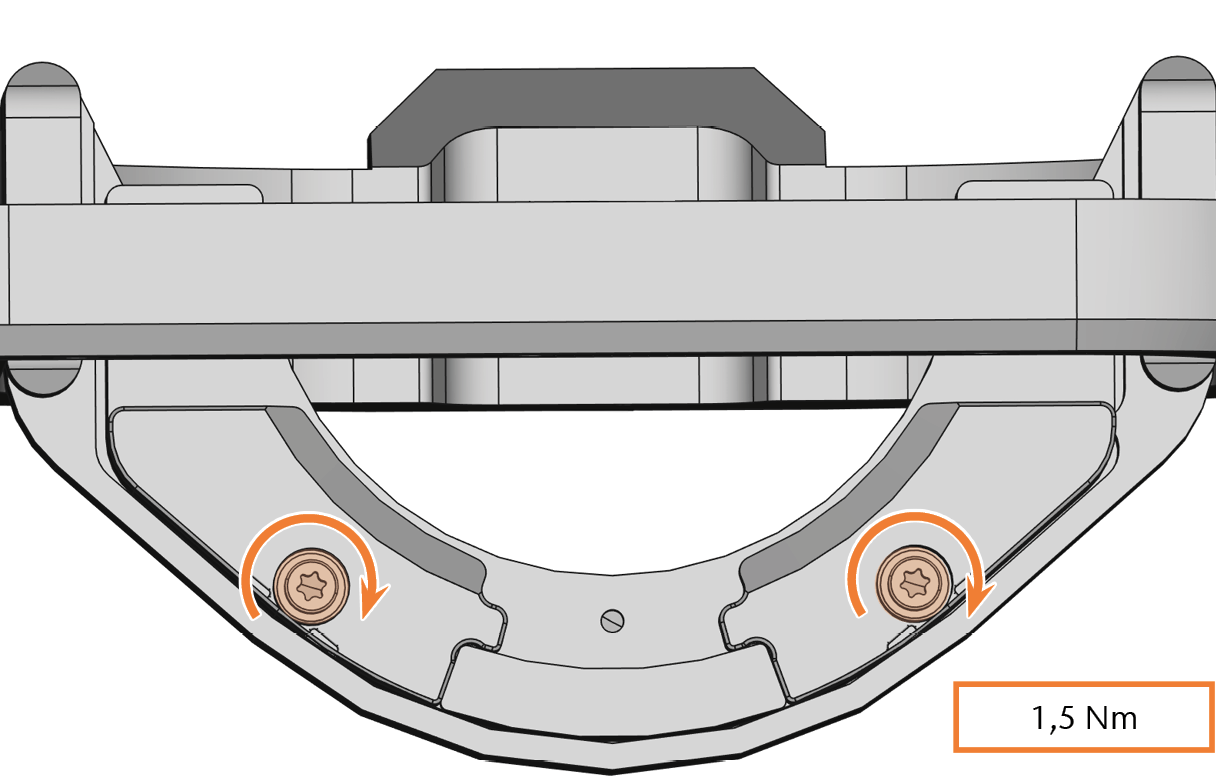
Use the torque screwdriver (1.5 Nm) and screw down the 2 clamping devices with the 2 fixing screws.