Exchanging the spindle unit
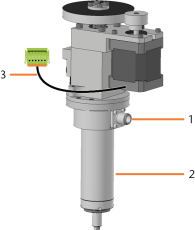
When exchanging the spindle, exchange the entire spindle unit, which consists of the following components:
-
Spindle including collet chuck
-
Collet chuck release unit including cable
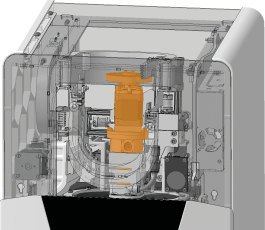
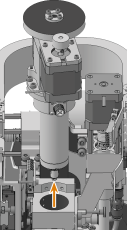
The spindle unit (marked orange) is located behind the service cover.
-
Have ready:
-
Start dentalcnc.
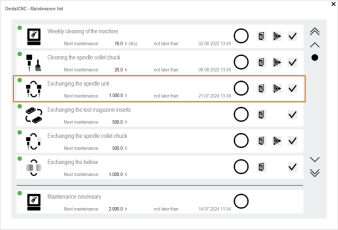
- Open the Maintenance section with the following icon in the main toolbar:

-
The spindle moves into the spindle exchange position.
-
Close dentalcnc.
-
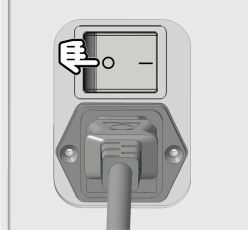
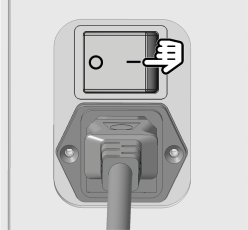
.Switch off the machine at the main power switch.
-
Disconnect the machine from all lines.
-
Remove the service cover,
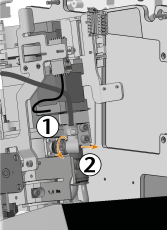
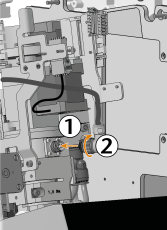
- Loosen the spindle cable by manually turning the knurled nut anti-clockwise.
-
Pull the spindle cable out of the connector on the spindle unit.
-
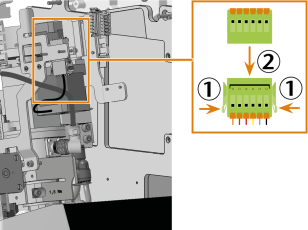
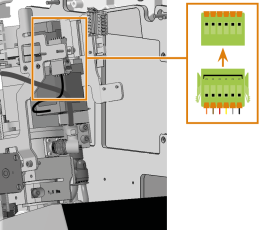
Remove the collet chuck release unit cable:
Push both mounting clips on the connector toward the center and pull the connector out of the socket.
-
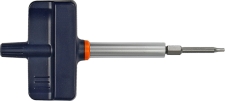
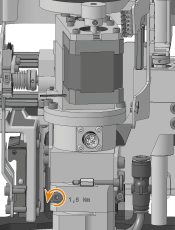
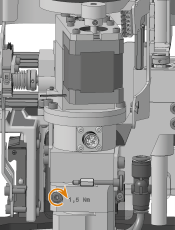
Loosen the fixing screw with the torque screwdriver. Do not unscrew the screw completely.
-
Pull the spindle unit upward out of the spindle holder.
-
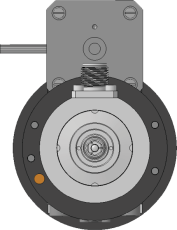
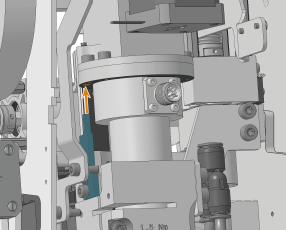
Pick up the spare spindle unit and locate the positioning pin hole (marked orange) on the bottom.
-
Turn the spindle unit such that the positioning opening (marked orange) is located at the rear left.
-
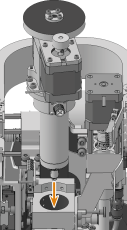
Insert the spare spindle unit into the spindle holder from above:
-
Insert the positioning aid (marked blue) on the spindle holder into the positioning hole (marked orange) in the spindle.
-
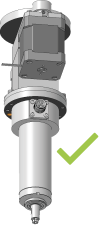
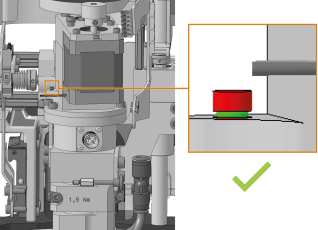
Gently push the spindle down, paying attention to the spindle height display.
NOTICE! Make sure that the spindle gear does not touch the cooling liquid hose.
-
-
Once you have pushed the spindle down sufficiently, you will see the green ring on the spindle height display.
-
Use the torque screwdriver to tighten the screw for holding the spindle in place.
-
Plug the spindle cable into the spindle connector.
-
Tighten the spindle cable by manually turning the knurled nut clockwise.
-
Insert the collet chuck release unit cable into the corresponding connector in the machine.
-
Attach the service cover.
-
Switch on the machine at the main power switch.
-
Start dentalcnc.
- Open the Maintenance section with the following icon in the main toolbar:

-
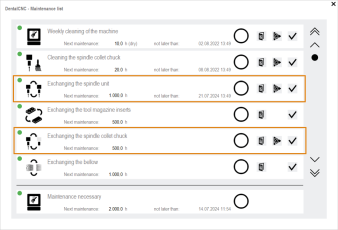
Select the following icon of the entries Exchange spindle and Exchange spindle collet chuck:

-
Mill a test specimen and calibrate the machine as necessary.
-
Contact customer service and have the spindle operating hours reset.
This can be important for deciding warranty claims.
