Exchanging the fixing latches and clamping blocks on the upper service cover
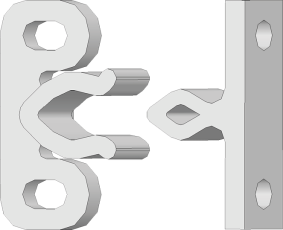
If the top service cover no longer holds, exchange the fixing latches and the clamping blocks if necessary.
-
Have ready:
-
Close the working chamber door.
-
Exit dentalcnc.
-
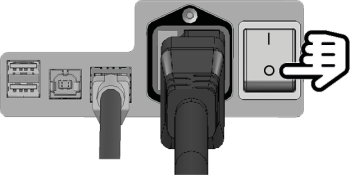
Switch off the machine at the main power switch.
-
Remove the top service cover:
-
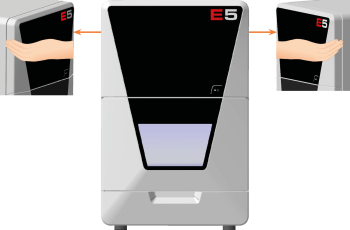
Grasp the recess on the left and right sides of the service cover.
-
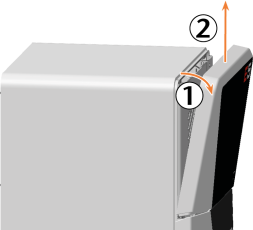
Lift the service cover out of the tabs.
-
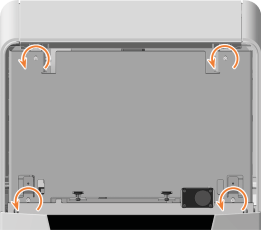
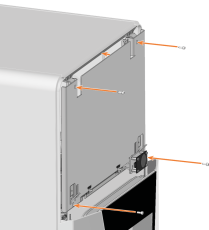
Use the 1.5 Nm torque screwdriver to unscrew the 4 screws that secure the safety cover.
-
Remove the safety cover.
-
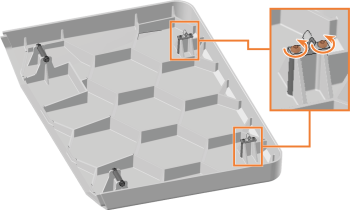
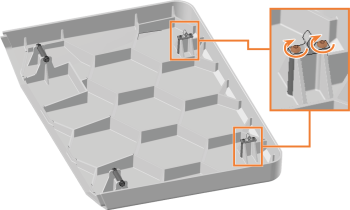
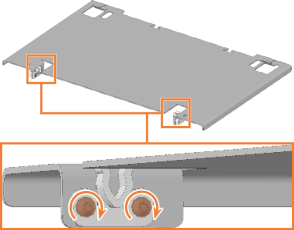
Exchange the plugs of the damaged fixing latches on the service cover:
-
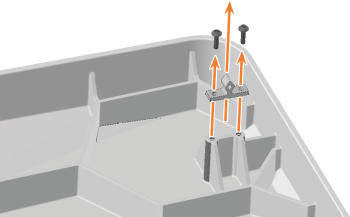
Loosen the 2 screws and remove the connectors.
-
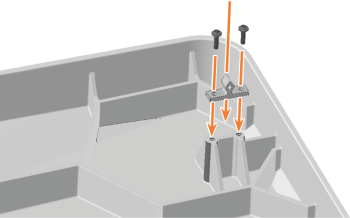
Screw on the spare connectors in the same position.
-
-
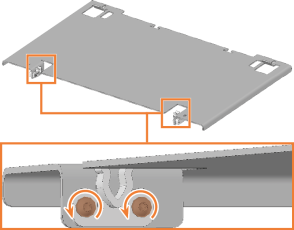
Exchange the sockets on the damaged fixing latches on the safety cover:
-
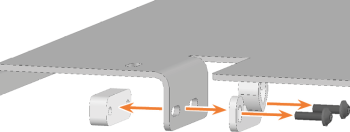
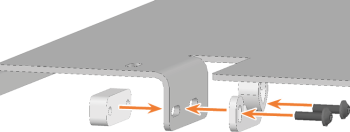
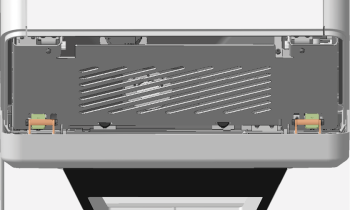
Loosen the 2 screws and remove the jacks and clamping blocks.
-
Screw on the spare sockets and clamping blocks in the same position.
If necessary, use spare clamping blocks.
-
-
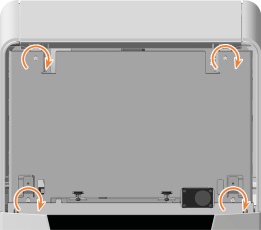
Position the safety cover so that the 4 screw holes are located above the 4 screw holes in the machine housing.
-
Secure the safety cover to the machine housing using the 1.5 Nm torque screwdriver.
-
Attach the top service cover:
-
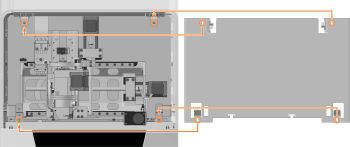
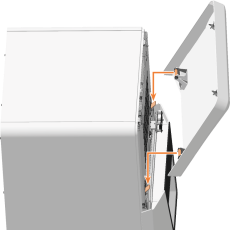
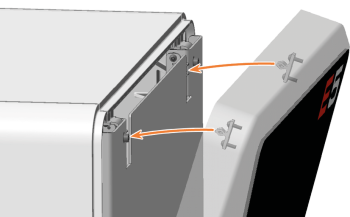
Insert the bolts (marked orange) of the service cover into the holders (marked green) on the safety cover.
-
Tilt the service cover towards the machine until it clicks into place.
-

