Connecting the machine
Watch the video

YouTube video – When viewing this video, personal data is sent to YouTube, LLC, USA. Privacy statement
Machine installation scheme
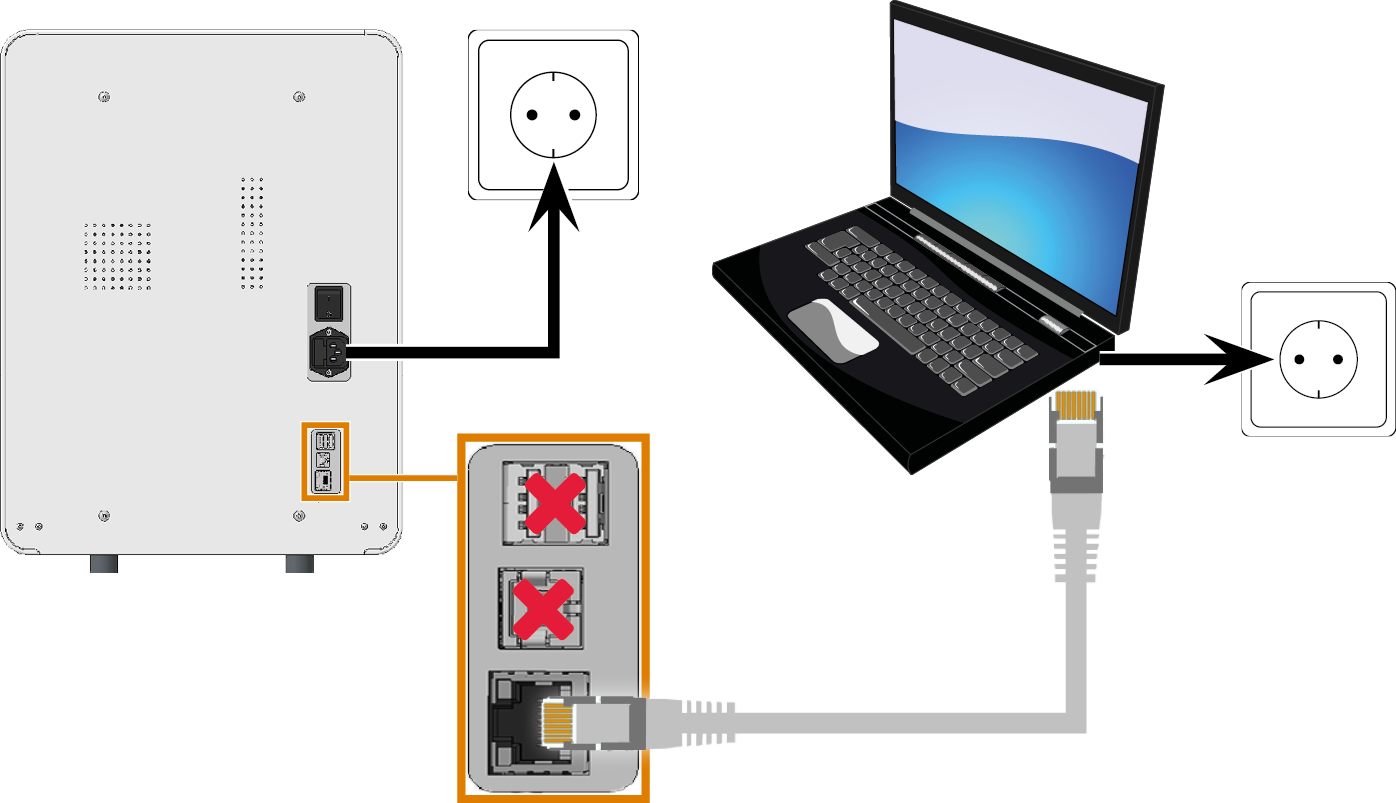


Power connection

Ethernet network cable
Connecting the CAM computer
You connect the CAM computer![]() The computer that is connected to your machine and which runs dentalcam and dentalcnc. to the machine with an Ethernet cable.
The computer that is connected to your machine and which runs dentalcam and dentalcnc. to the machine with an Ethernet cable.
To avoid connecting errors, we highly recommend that you use the USB or Ethernet cable which was provided with the device. Original spare parts are available from customer service.
Connecting Ethernet
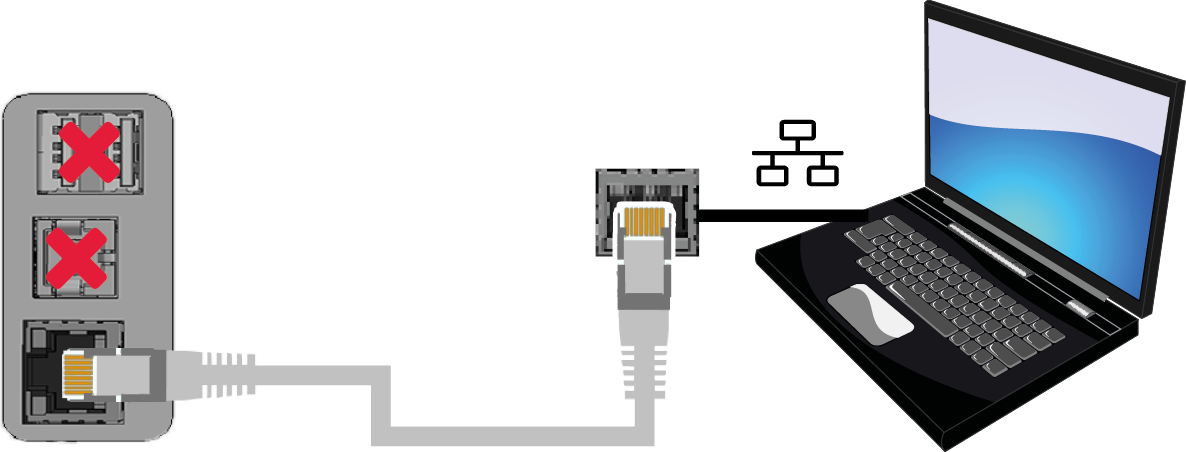
You can connect the machine either directly to your CAM computers![]() The computer that is connected to your machine and which runs dentalcam and dentalcnc. or via the local network. For integrating the machine into your network, you will require the assistance of your IT specialist.
The computer that is connected to your machine and which runs dentalcam and dentalcnc. or via the local network. For integrating the machine into your network, you will require the assistance of your IT specialist.
-
Plug the Ethernet cable into the network port at the connection panel of the machine.
-
For a direct connection, plug the other end of the Ethernet cable into the network port on the CAM computer
 The computer that is connected to your machine and which runs dentalcam and dentalcnc..
 -
To connect through your network, plug the other end of the Ethernet cable into a port on the local network (for example, hub, switch, network jack).
-
The CAM computer
The computer that is connected to your machine and which runs dentalcam and dentalcnc. must also be connected to this network. -
The IP assignment in the network be performed by a DHCP server.
-
-
You set up the connection between the machine and CAM computer
The computer that is connected to your machine and which runs dentalcam and dentalcnc. using the software during the initial start-up.
Minimum Ethernet cable requirements
- Performance class: CAT-6
- Screened/Foiled Twisted Pair (S/FTP)
- Maximum length of 55 m (approx. 180 ft)
- Premium quality
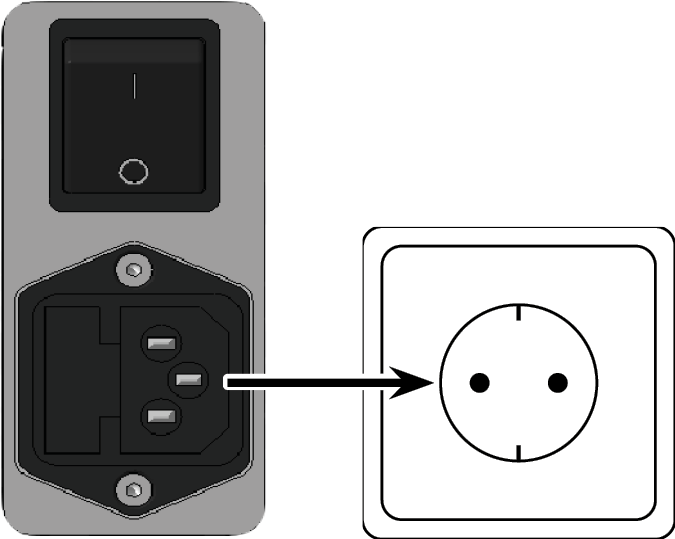
Establishing the electric connection
The machine requires an uninterruptible power supply for proper operation.
- Plug the provided power cable into the power connection at the connection panel of the machine.
-
NOTICE! To avoid job interruptions, install an uninterruptible power supply (UPS), type online / VFI (IEC 62040-3, Class 1) if there are regular power failures or frequent mains voltage fluctuations.
- Insert the plug of the cable into a socket that is protected by a Residual Current Device / Ground Fault Circuit Interrupter.